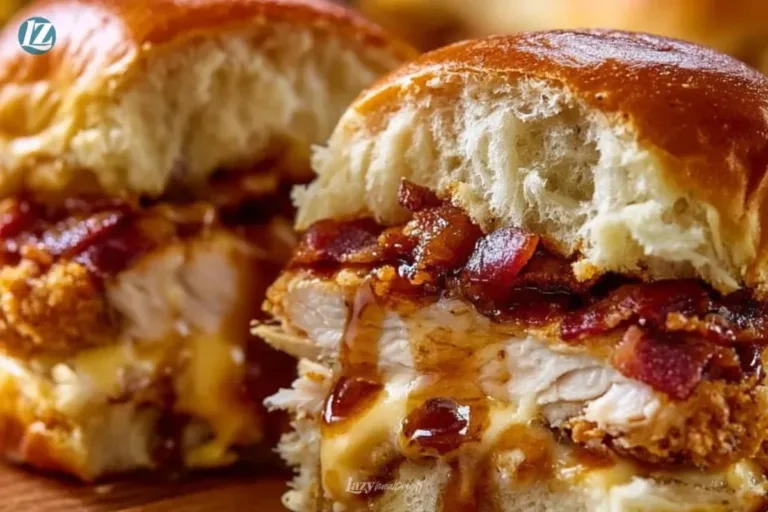
I can still smell the maple and bacon when I think about the first time I made these sliders for a hectic weeknight. The kids had practice, my wife was short on time, and I wanted something cozy that did not require babysitting the stove.
Within 25 minutes the house smelled like a diner, the table was full of smiles, and nobody complained about homework or broccoli. That simple dinner saved the night and became our go-to quick comfort meal. If you want real food that moves fast and tastes like a small celebration, these Maple Chicken Bacon Sliders are the kind of dish you’ll make on repeat. If you need a quick side, try pairing with my other easy ideas like a quick bacon and garlic chicken to round things out on heavier nights.
Why Maple Chicken Bacon Sliders Deserves a Spot in Your Weeknight Rotation
This recipe hits a few magic points. First, it is fast. Second, it cleans up in minutes. Third, pretty much everyone at the table is happy. You get sweet, salty, smoky, and creamy in one neat bite.
They travel well to game night or potlucks. Make a pan, cut into portions, and people will crowd the table. They also scale easily. Double or triple the pans and you still spend almost the same amount of time cooking.
You do not need fancy tools. A baking sheet, a bread knife, and a small brush for the maple butter are all you really need. That makes this a low-effort win for busy nights.
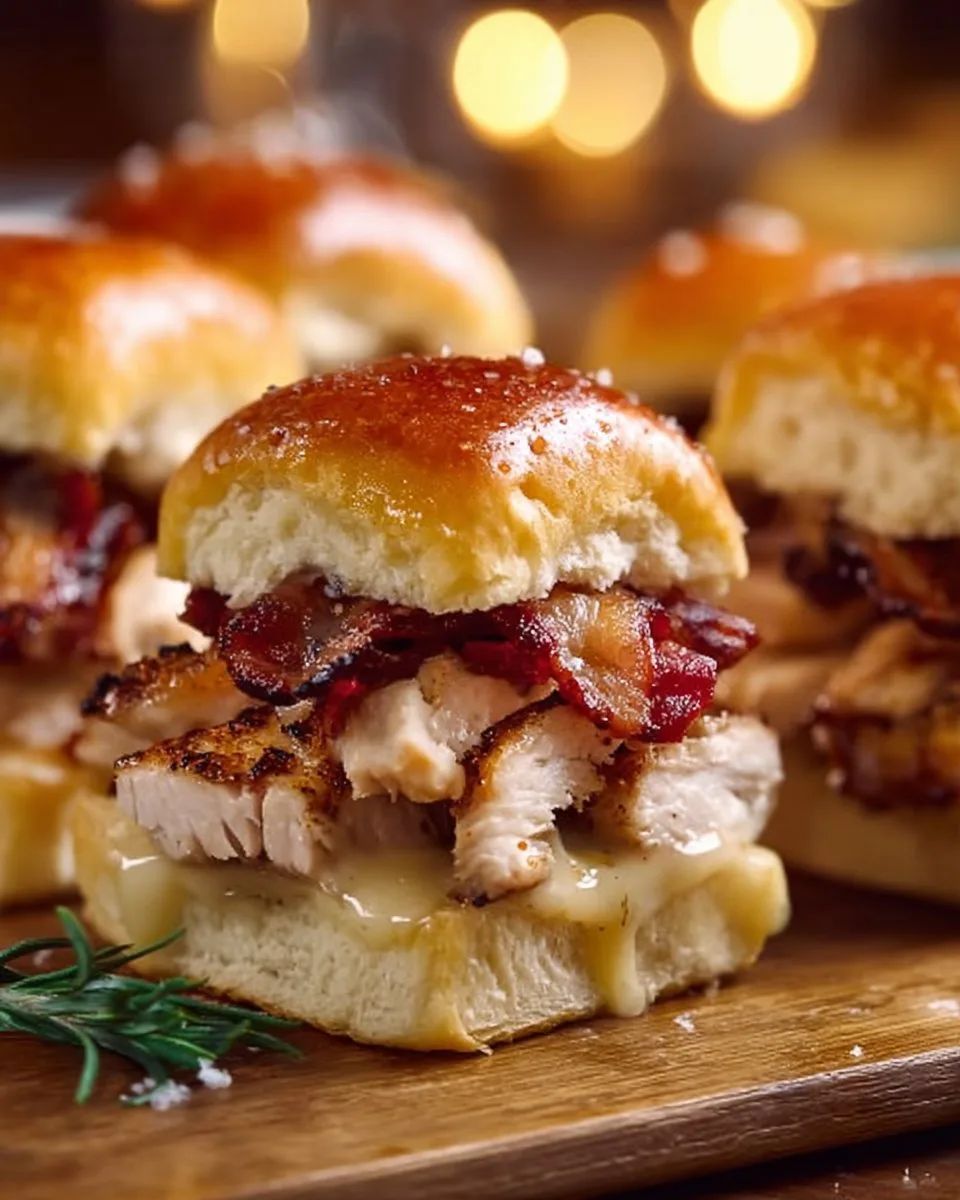
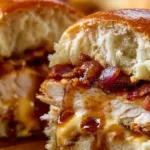
The texture balance is what sells it. Think soft golden rolls, pockets of melted Gouda, crisp bacon, and tender chicken with a glossy maple finish. The whole thing is juicy without being sloppy.
It also gives you flexibility. Swap in a different cheese, use rotisserie chicken, or make it spicy. Small changes keep things exciting without adding stress.
How to Make Maple Chicken Bacon Sliders the Easy Way
“If it smells this good halfway through, you know dinner’s gonna be great.”
Before you dive in, here is the quick plan. You split the rolls, spread maple butter, layer cooked chicken, bacon, and Gouda, pop the top on, and bake until the cheese melts and the tops brown. Finish with more maple butter and slice.
Watch for a few cues. The cheese should be fully melted and gooey. The tops should turn lightly golden, not dark brown. You want the bacon warmed through and still a little crisp.
Color tells you a lot. The rolls should have an even pale gold at the edges and a bit more color in spots where the maple butter pooled. The chicken should feel warm to the touch and not rubbery.
A simple aroma cue is the easiest. When maple and bacon scent the air together, you are nearly there. That smell is part of the dinner payoff, and it will get the family to the table.
If you want a creamy dip next to these, try pairing with a quick maple bacon cheese dip for dipping. It is an easy two-minute mix that makes these sliders feel extra fancy.
Ingredients You’ll Need
1 package (12 count) King’s Hawaiian Rolls
12 cooked chicken breast strips
4 slices Gouda cheese
4 to 6 slices cooked bacon
1/4 cup maple butter
Notes: These are simple, trust me. Don’t overthink it. Use leftover cooked chicken or a rotisserie breast if you need to save time. The King’s Hawaiian rolls bring sweetness and structure. Gouda melts nicely and has a mild flavor that plays well with maple. If you like a touch more salt, go with 6 slices of bacon. No fancy prep required here.
If you want a dessert that keeps the maple vibe going, consider finishing the meal with maple bacon cinnamon rolls for a weekend treat.
Step-by-Step Directions
- Preheat the oven to 375°F.
Make sure the rack sits in the middle of the oven for even heat. - Using a bread knife, slice the Hawaiian rolls horizontally to separate the tops from the bottoms, keeping each set of rolls connected if possible.
Work slowly so you don’t squish the rolls. A serrated bread knife does the trick. - Spread a generous, even layer of maple butter across the bottom half of the rolls.
Cover every roll pocket so each slider gets flavor. Don’t be shy with the butter. - Arrange the cooked chicken strips evenly over the maple butter layer, then place the bacon slices on top of the chicken.
Keep pieces similar in size so each slider bites the same. You can overlap a little. - Layer the Gouda cheese slices over the bacon, then cover with the top half of the rolls.
Make sure the cheese covers most of the surface so it melts and pulls together the layers. - Place the assembled sliders on a baking sheet and bake for 10 to 15 minutes, until the cheese is melted and the tops are lightly golden.
Watch the last few minutes so the tops do not overbrown. Ovens vary, so check at 10 minutes. - Carefully remove from the oven and brush the tops with additional maple butter.
This step gives the tops that glossy, sweet finish that cooks into the roll. - Cut into individual sliders and serve warm.
Use a sharp knife and a steady hand for neat slices. Serve immediately for the best texture.
Quick tips along the way: Keep an eye on the cheese. If you see it fully melted and the tops just starting to color, you are perfect. A little browning adds flavor but aimed for golden, not dark. If you need to hold the sliders, cover them loosely with foil for a few minutes to keep them warm.
Serving Maple Chicken Bacon Sliders at the Table

These sliders work great on a big tray for family-style dinners. Place the pan in the center and let everyone grab one. That casual presentation keeps things relaxed and friendly.
For game night or a small party, arrange the sliders on a platter and add small bowls of mustard, pickles, or a honey-mustard dipping sauce. People love options and it keeps the line moving.
If you are meal prepping, put two sliders into each container with a side of crudites or a simple slaw. They reheat well in the oven or an air fryer and hold their shape in a container.
On a busy weeknight, pair the sliders with a simple green salad and oven-roasted potatoes. On a weekend, you can add a warm side like mac and cheese.
My kids like them with extra pickles on the side. My wife likes a thin smear of Dijon under the maple butter for a bit of tang. I am not picky; I just want the pan empty.
For a handheld course at a potluck, stack the sliders on parchment on a board and hand out small plates. They travel better than most sandwiches because the roll keeps everything together.
Storage & Reheat (No Soggy Leftovers)
Leftovers will keep in the fridge for up to 3 days. Store in an airtight container or wrap the pan tightly with foil if you leave them assembled.
If you plan to freeze, wrap individual sliders in plastic wrap then foil. Freeze for up to 2 months. Thaw overnight in the fridge before reheating.
To reheat without killing the texture, use the oven at 325°F for 10 to 12 minutes, or until warmed through. The oven brings back that slight crisp on the roll top and keeps the cheese melty.
A quick microwave will warm them but expect a softer roll. If you must use the microwave, zap for 30 to 45 seconds and then finish in a hot skillet for a minute to crisp up the crust.
An air fryer works great. Heat at 350°F for 3 to 5 minutes and check. It revives the roll tops and keeps the inside moist.
If you want to keep leftovers crisp, separate the tops and bottoms before storing. Reassemble and add fresh maple butter before reheating. This little step prevents a completely soggy top.
When reheating frozen sliders, let them thaw in the fridge overnight before popping into the oven. That gives you the best final texture.
Quick Tips & Shortcuts
- Use rotisserie chicken or leftover grilled chicken to save time. It keeps the flavor and cuts prep.
- Cook bacon in the oven on a foil-lined pan for easy cleanup and consistent crispness.
- Brush the top with maple butter just before serving for a glossy finish that looks and tastes fresh.
- If your kids like a little heat, add a thin layer of sriracha mayo to the tops before baking. Don’t overdo it.
- For a nearly no-cleanup trick, assemble and bake in a disposable foil pan. Toss it when you’re done. Also consider pairing with a simple 10-minute dip to start the meal like a quick buffalo chicken dip for parties.
Variations That Work
Want to change things up without fuss? Here are a few ideas that keep the heart of the recipe but mix the flavor.
- Turkey swap: Use sliced turkey instead of chicken for a lighter version. It pairs well with Gouda and maple.
- Cheesy change: Swap Gouda for Swiss or Monterey Jack for a different melt and flavor. Swiss adds nuttiness.
- Spicy maple: Mix a little cayenne into the maple butter for a sweet-heat version that grows on you.
- Veg-forward: Add thin apple slices or arugula under the cheese for freshness and a pop of texture. Apples play nicely with maple.
- Breakfast twist: Add a thin fried egg on each slider for a brunch version. The yolk runs into the layers and feels indulgent.
Each variation is a reminder that the slider is a template. Keep the simple structure and change one element. That keeps things fast and reliable.
Ethan’s Notes From the Kitchen
I started making these when my schedule felt like a juggling act. What I learned is that the simplest move, like using ready-made chicken or pre-cooked bacon, is not cheating. It is smart cooking. The goal is to get food on the table that people remember.
Use good rolls. They are the backbone of the slider. If you skimp on the bread, the whole experience is off. I trust King’s Hawaiian because it gives the right balance of sweet and soft.
Don’t overbake. I say this as a man who once left a pan in for too long. Ten to fifteen minutes is the window. The cheese should be gooey and the tops should be just golden.
If you get nervous about the oven, check at the 10-minute mark and add a minute or two as needed. You’ve got this.
FAQs About Maple Chicken Bacon Sliders
Can I make this ahead?
Yep. Assemble the sliders and keep them covered in the fridge for up to 24 hours. Bake when you are ready. The flavors settle beautifully if you let them rest a bit.
Can I use other rolls?
Sure. Brioche or dinner rolls work, but they will change the sweetness and texture. King’s Hawaiian is what gives the classic sweet note.
What if I only have sliced cheese, not whole slices?
No problem. Layer shredded cheese evenly over the bacon. That melts fast and fills gaps nicely.
Is there a vegetarian option?
Try replacing chicken and bacon with grilled portobello slices and smoked tempeh or a thick slice of roasted butternut squash. Layer with the maple butter and cheese and bake until warm.
How do I stop the sliders from getting soggy?
Spread the maple butter evenly but not excessively. Toasting the bottom rolls lightly before assembly helps. Also, wait a couple of minutes after baking to slice so juices settle.
A Final Bite
Cooking for a busy family does not mean you give up on flavor. These Maple Chicken Bacon Sliders are proof that fast food at home can still taste made with care.
They are a weeknight hero. They make guests happy. They are easy to scale. And they give you time back in your evening without losing the warmth of a family meal.
If your kids lick the plate clean, don’t say I didn’t warn you. Make a double batch next time.
Conclusion
If you want more inspiration or a slightly different take on the idea, check out this version of Maple Chicken and Bacon Sliders – The Millennial Stay-At-Home Mom which offers a similar cozy approach with a few different twists.
For a turkey take on the idea that leans into the same sweet-savory vibe, see Maple Bacon Hawaiian Roll Turkey Sliders – Erica’s Recipes for another family-friendly version to try on a weekend.
Maple Chicken Bacon Sliders
Ingredients
Main ingredients
- 1 package (12 count) King’s Hawaiian Rolls These bring sweetness and structure.
- 12 pieces cooked chicken breast strips Use leftover or rotisserie chicken for convenience.
- 4 slices Gouda cheese Mild flavor that melts nicely.
- 4 to 6 slices cooked bacon Use more if you prefer a saltier taste.
- 1/4 cup maple butter Give a glossy finish and added flavor.
Instructions
Preparation
- Preheat the oven to 375°F.
- Slice the Hawaiian rolls horizontally to separate tops from bottoms, keeping them connected if possible.
- Spread an even layer of maple butter across the bottom half of the rolls.
- Arrange the cooked chicken strips over the maple butter, then place the bacon slices on top.
- Layer the Gouda cheese slices over the bacon, then cover with the top half of the rolls.
- Place the assembled sliders on a baking sheet and bake for 10 to 15 minutes, until the cheese is melted and the tops are lightly golden.
- Remove from the oven and brush the tops with additional maple butter.
- Cut into individual sliders and serve warm.
Notes
Nutrition
What’s Cooking in Your Kitchen?
Tried this recipe your own way? I want to see it. Snap a quick pic and tag us, or drop a comment with what you tweaked. Lazy cooking works best when we swap ideas and your spin might be the next Lazy Meal Prep favorite.
Post your photo and tag @lazy_mealprep I’ll share my favorites in stories.