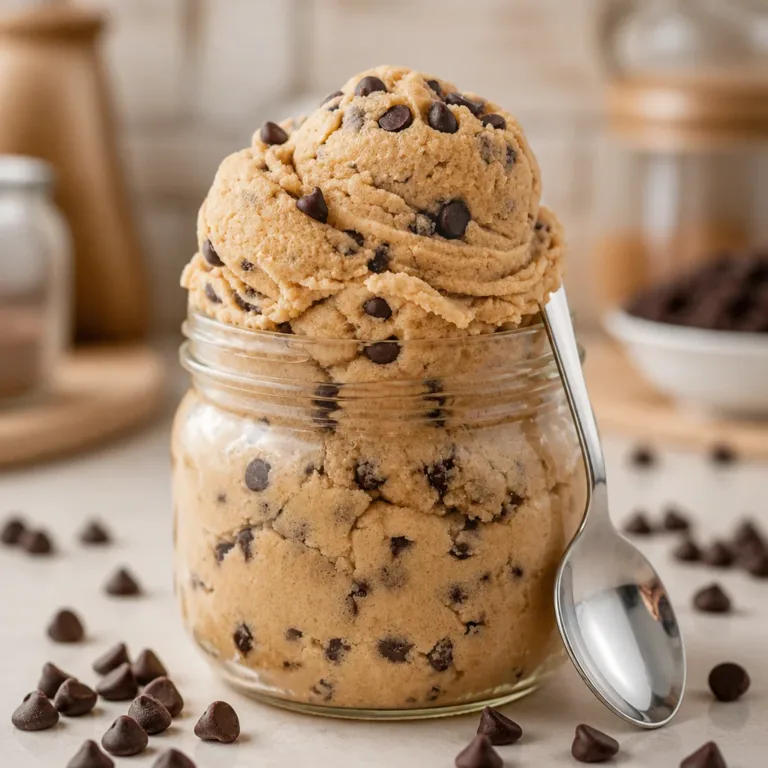
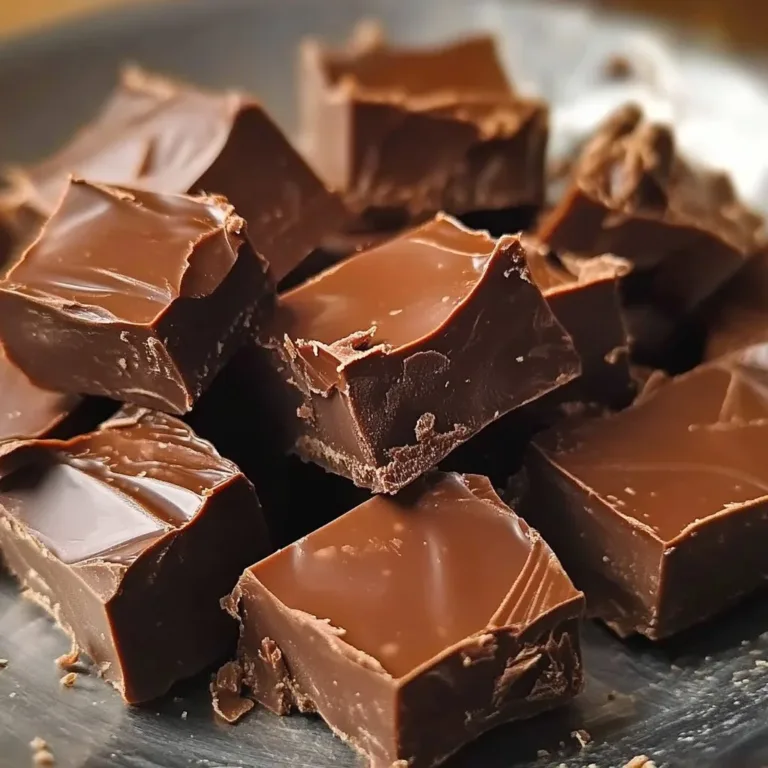
The first time I made this Old-Fashioned Chocolate Fudge for my family, the whole house smelled like a warm hug. The chocolate steam curled under the kitchen lamp and my children sat on the counter, watching the pot as if it were a little theater. That quiet, sticky sweetness is what I think of on slow Saturdays and busy holidays alike, and it is the kind of recipe that reminds me how small kitchen moments can hold us together, like the time we paired fudge with old-fashioned pumpkin chocolate chip cookies for a simple afternoon treat.
Why This Old-Fashioned Chocolate Fudge Means So Much
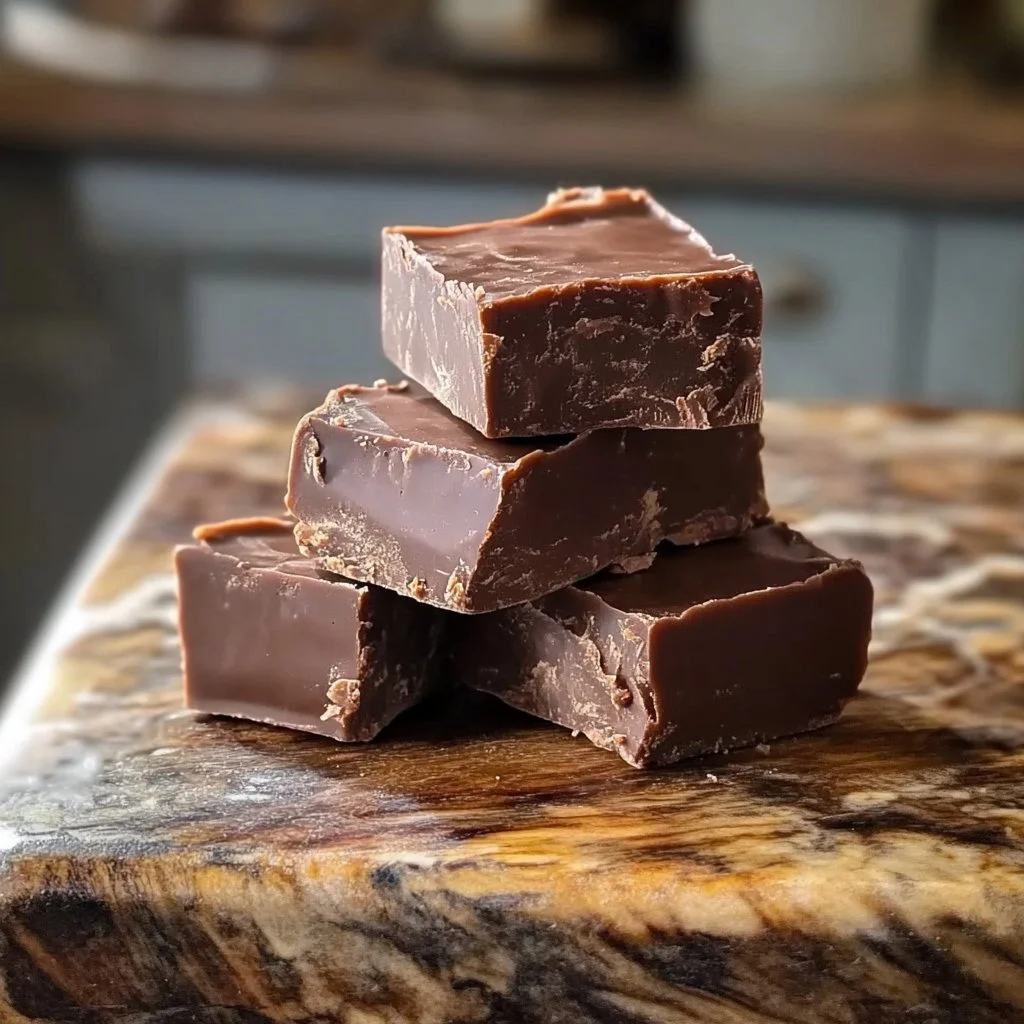
This recipe has the kind of memory that lives in the corners of a recipe box and on the backs of greeting cards. It is the fudge my grandmother folded into wax paper and tucked into my lunchbox. It is the square that showed up at every family potluck, the little piece you kept for last because the texture was that comforting.
I think of the sound of the pot coming to a gentle roll, the glossy surface when it first catches light, and the way a warm bite can spread a quiet smile. It was made with things we always had on hand, so it felt like magic more than invention. For me, Old-Fashioned Chocolate Fudge means warmth, small celebrations, and the kind of comfort that does not need fanfare.
There is something honest about this kind of cooking. No fancy tools, no hard-to-find ingredients. Just a spoon, a pan, and a little patience. When I make it now, I watch my grandchildren reach for the same ritual of waiting and tasting, and that steadiness comforts me the way the fudge comforts them.
How to Make Old-Fashioned Chocolate Fudge
“Every time I stir this pot, it smells just like Sunday at home.”
Making this fudge is a short, simple act that asks you to be present for a little while. The sugars and cocoa come together into a deep brown, the pot clicks softly against the stove, and you watch until the mixture tells you it is ready.
I always say the pot will tell you when it is done. You will see a glossy surface and a deeper chocolate color. While you wait, take a quiet breath and remember that cooking is as much about voice as it is about heat. When I need a break, I make a small batch and let the aroma carry me through a busy day. If you love a toasty note, try a batch while you are also making browned butter cookies for dessert; the scents pair beautifully with my notes on brown butter chocolate chip cookies.
This approach is gentle but exact. You watch for color, listen for the soft boil, and trust the thermometer or the soft ball test. The payoff is a fudge that is smooth but still holds its shape, bites that are tender and satiny.
Ingredients You’ll Need
2 cups granulated sugar
1/2 cup unsweetened cocoa powder
1/2 cup milk
1/4 cup unsalted butter
1 teaspoon vanilla extract
1/2 cup chopped nuts (optional)
A few warm side notes: use fresh butter it makes all the difference for a bright, clean flavor. If you love a little spice on cool afternoons, add a dash more cinnamon to the sugar before you heat it. For a nut-free version, simply leave the nuts out; the fudge is just as satisfying on its own. If you or someone in your home prefers gluten-free treats nearby, you might enjoy keeping a jar of these sweets close by while you try recipes like my picks for gluten-free chocolate chip cookies.
I like measuring gently, packing the cocoa a little with the back of a spoon so it sits true in the cup. Little actions like that seem small, but they add up in texture and taste.
Step-by-Step Directions
- In a medium saucepan, combine the sugar, cocoa powder, and milk. Stir over medium heat until the mixture comes to a boil.
You will see the dry powders dissolve and the color deepen into a rich, dark brown. Stir until glossy and fully incorporated. - Once boiling, continue to cook for about 4-5 minutes without stirring until a soft ball stage is reached (235°F/112°C).
The boil will steady into a gentle roar. Watch for a deeper color and small bubbles; the thermometer or soft ball test will tell you when it is ready. - Remove from heat and stir in the butter and vanilla extract until smooth.
The butter adds silk, and the vanilla opens the flavor like a gentle song. Stir until the surface turns glossy and the steam softens. - If desired, fold in the chopped nuts.
Nuts give a small chew and a toastiness that balances the sweet. Fold gently so the fudge stays smooth and even. - Pour the fudge mixture into a greased 8×8 inch pan and let it cool completely until set.
Tap the pan on the counter to settle the surface and take a moment to let the scent that fills the kitchen settle into your shoulders. - Cut into squares and enjoy.
A warm square is tender; a cooled one has a firmer bite. Either way, the fudge should feel like a quiet, sweet reward.
Serving Old-Fashioned Chocolate Fudge With Family Warmth
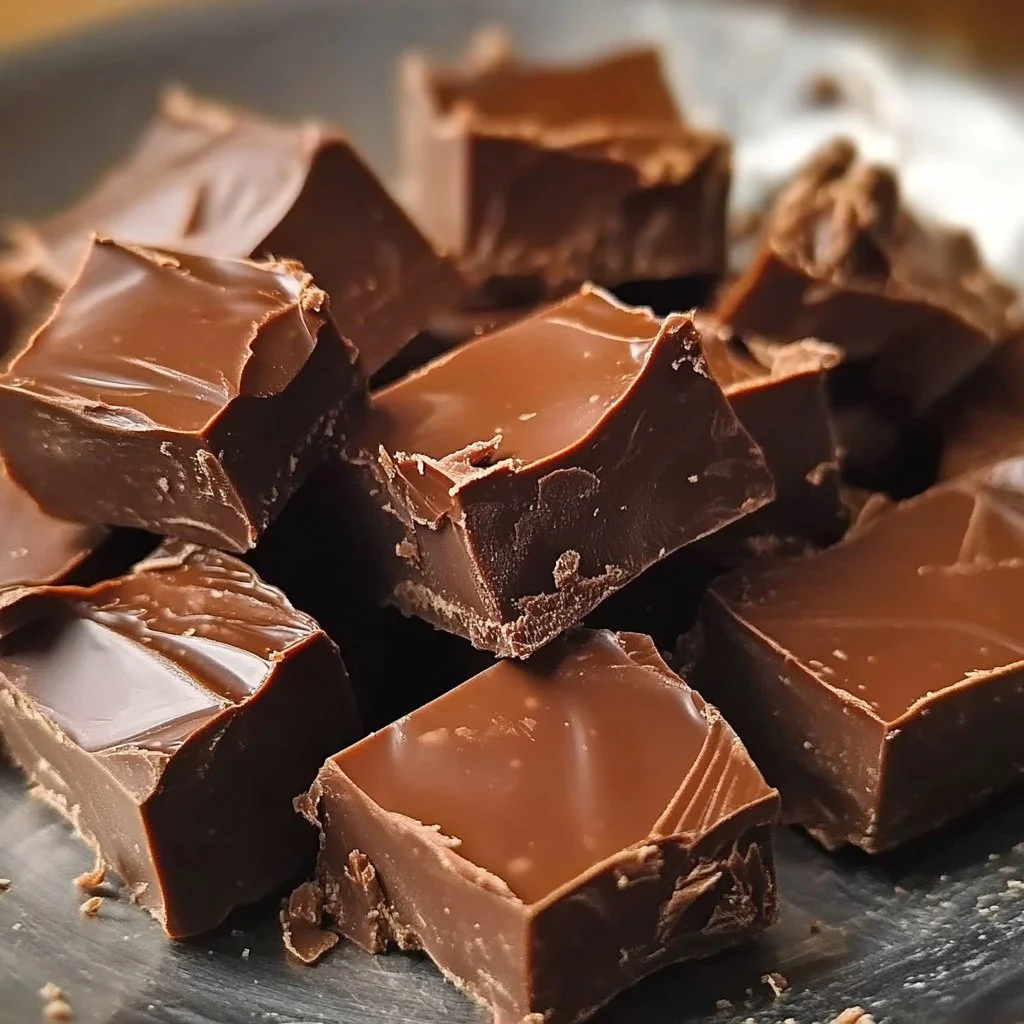
I serve this fudge on a small plate at the end of a weeknight dinner and for gatherings where people arrive with tired smiles. A little stack on a doily, a few squares by a teacup, and a pewter tray for holiday guests make the fudge feel like an offering of care.
Sometimes we sprinkle a few flaky salt crystals on the top when it first sets. That tiny salty kiss makes the chocolate sing. Other times we add a dusting of cocoa or a thin ribbon of white chocolate for a festive look. Little touches matter, but the real joy comes from the moment you share it. My grandchildren like it with a glass of cold milk. My sister pairs it with strong coffee. My neighbors once ate it with ginger cookies and declared it a match made in heaven.
If you ever need a simple platter for a school bake sale or a small welcome gift for a new family on the street, cut the fudge into tidy squares and wrap them in wax paper tied with twine. It feels old-fashioned in the best way.
Storing Old-Fashioned Chocolate Fudge for Tomorrow
Store your fudge in an airtight container at cool room temperature, especially if your home is not too warm. It keeps best for up to two weeks when wrapped between sheets of wax paper and placed in a tight tin.
For longer storage, you can refrigerate it for up to a month. Let it come to room temperature before serving to restore its gentle chew. If you freeze fudge, wrap pieces individually and keep them in a sealed bag; thaw overnight in the fridge and then leave a couple of hours on the counter before serving so the texture softens.
Flavor settles and deepens overnight, so do not be surprised if the fudge tastes even better a day after you make it. The vanilla and cocoa have more time to become friends.
Little Kitchen Notes
- Thermometer or soft ball test. A candy thermometer makes timing easy, but the soft ball test works if you prefer the old ways. Drop a small spoonful into cold water; if it forms a soft, pliable ball, you are there. I often keep a thermometer nearby for peace of mind.
- Heat control matters. Keep your heat steady and avoid high flames. A too-rapid boil can scorch or crystalize the sugar. Medium heat gives you time to watch the color and feel confident about the texture.
- Stir gently after removing from heat. Vigorous beating can cause a grainy texture. Stir until just smooth, then pour. If you see grains forming while cooling, a very gentle heating and stirring can sometimes smooth them back, but prevention is best.
- Customize the texture. For a creamier fudge, add a little more butter. For a firmer bite, let it cool fully before cutting and store in a cooler spot. Small adjustments change the feel, so experiment until it feels like your kind of comfort.
- Cleanup is kinder when you soak. Fill the pan with warm water right after pouring to loosen any stuck sugar. The pot will thank you, and you will be ready for the next batch.
Family Variations on Old-Fashioned Chocolate Fudge
Our family has tried many small twists over the years while keeping the heart of the recipe the same. Some of these are quick experiments, others became staples.
- Nutty Sundays. Substitute toasted pecans or walnuts for a deeper, roastier taste. Toast them lightly in a dry pan first to bring out the oils. The scent will make you smile while you stir.
- Mint-kissed. Add a drop or two of peppermint after the mixture is off the heat for a cool, refreshing bite. Use sparingly; a little peppermint goes a long way.
- Orange ribbon. Fold in a teaspoon of orange zest with the butter. It brightens the chocolate and feels festive in winter.
- Coffee sparkle. Dissolve a teaspoon of instant espresso in the milk before you heat it. The coffee deepens the chocolate and suits grown-up palates.
- Chocolate chips folded in. For extra texture, fold in a handful of semisweet chips at the end. They melt slightly into little pools that make each square a touch more decadent.
Each variation keeps the recipe close to the original while giving you room to personalize. My children once insisted on adding tiny marshmallow bits to half the pan, which made the kids squeal. The tradition can be as flexible as your family is playful.
FAQs About Old-Fashioned Chocolate Fudge
Can I make this a day ahead?
Yes, and honestly, it tastes even better the next day when the flavors settle together. Wrap pieces between wax paper and keep them covered.
Can I use low-fat milk?
Full milk gives the best texture and richness. If you must use low-fat, expect a slightly different mouthfeel. You can try mixing half milk, half cream for extra smoothness.
What if my fudge is grainy?
Graininess usually comes from sugar crystallizing. Gentle reheating with a splash of milk and a careful stir can sometimes smooth it. Preventatively, avoid stirring during the boil and make sure your sugar is fully dissolved before the boil.
Can I leave out the nuts?
Absolutely. The recipe is wonderful plain and just as comforting without nuts. Keep kids and guests with allergies in mind, and label accordingly.
Is there an easy way to make smaller batches?
Yes. Cut all ingredients in half and use a smaller pan. Watch the cooking time closely; smaller volumes may reach soft ball stage faster.
A Final Thought
I have made this Old-Fashioned Chocolate Fudge on rainy afternoons, in the glow of holiday lights, and on ordinary Tuesdays when my hands needed to do something steady. The act of stirring, the pause while it cools, and the sharing that follows are all part of what this recipe brings to the table.
It is a simple recipe that asks you to be present for a short while and then rewards you with squares of comfort. I hope it becomes part of your family stories, too, whether you make it the same way my grandmother did or add a small twist that becomes your tradition.
Conclusion
If you want to see other takes on a classic approach, I often look at recipes like An Italian in my Kitchen’s old fashioned chocolate fudge recipe for inspiration on texture and technique. For a different era’s version and more notes, I also keep an eye on the community-tested version at Food.com’s old fashioned chocolate fudge recipe.
May your kitchen smell of warm chocolate and simple joy the next time you stir a pot.
Old-Fashioned Chocolate Fudge
Ingredients
Main Ingredients
- 2 cups granulated sugar
- 1/2 cup unsweetened cocoa powder Pack lightly for best results.
- 1/2 cup milk Full milk recommended for best texture.
- 1/4 cup unsalted butter Fresh butter makes a difference in flavor.
- 1 teaspoon vanilla extract Enhances flavor.
- 1/2 cup chopped nuts Optional, for added texture.
Instructions
Preparation
- In a medium saucepan, combine the sugar, cocoa powder, and milk. Stir over medium heat until the mixture comes to a boil.
- Once boiling, continue to cook for about 4-5 minutes without stirring until a soft ball stage is reached (235°F/112°C).
- Remove from heat and stir in the butter and vanilla extract until smooth.
- If desired, fold in the chopped nuts gently.
- Pour the fudge mixture into a greased 8×8 inch pan and let it cool completely until set.
- Cut into squares and enjoy.