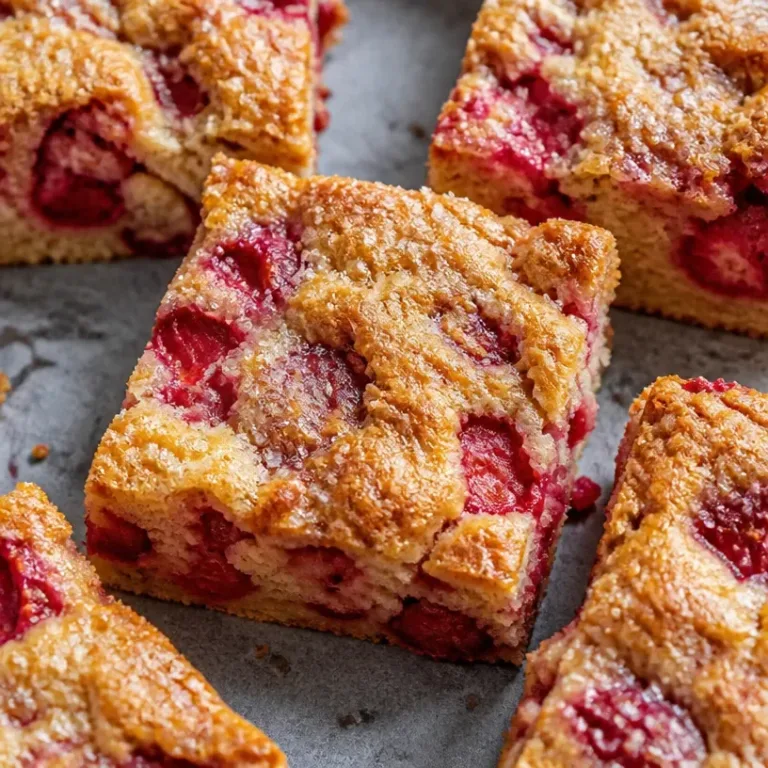
The warm scent of butter and melting cheese filling the kitchen is one of those small, sure comforts that feels like a quiet celebration. Hawaiian Roll Grilled Cheese slides from the skillet with glossy, golden edges and a pillowy, slightly sweet center. It tastes like a cozy afternoon with a good book or a simple birthday breakfast, and it makes every cup of coffee feel a little more special. If you love a soft, melt-in-your-mouth sandwich that looks as pretty as it tastes, this is one to share. Try a fruit-forward twist when you want something playful.
Why You’ll Love This Hawaiian Roll Grilled Cheese

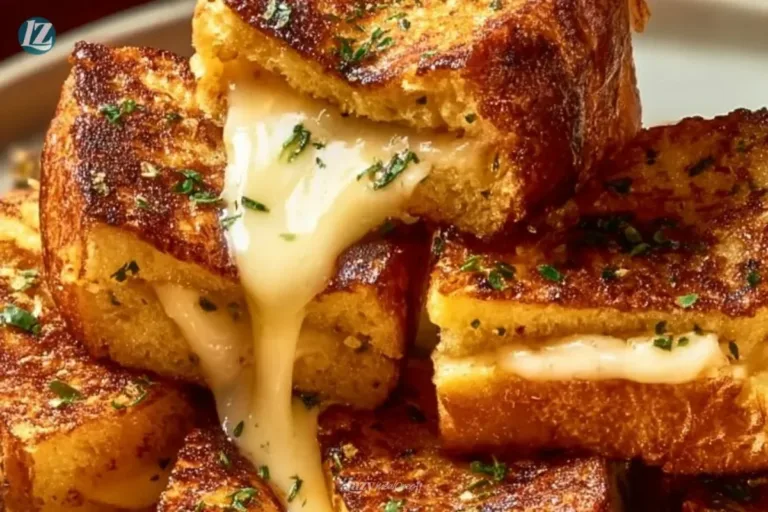
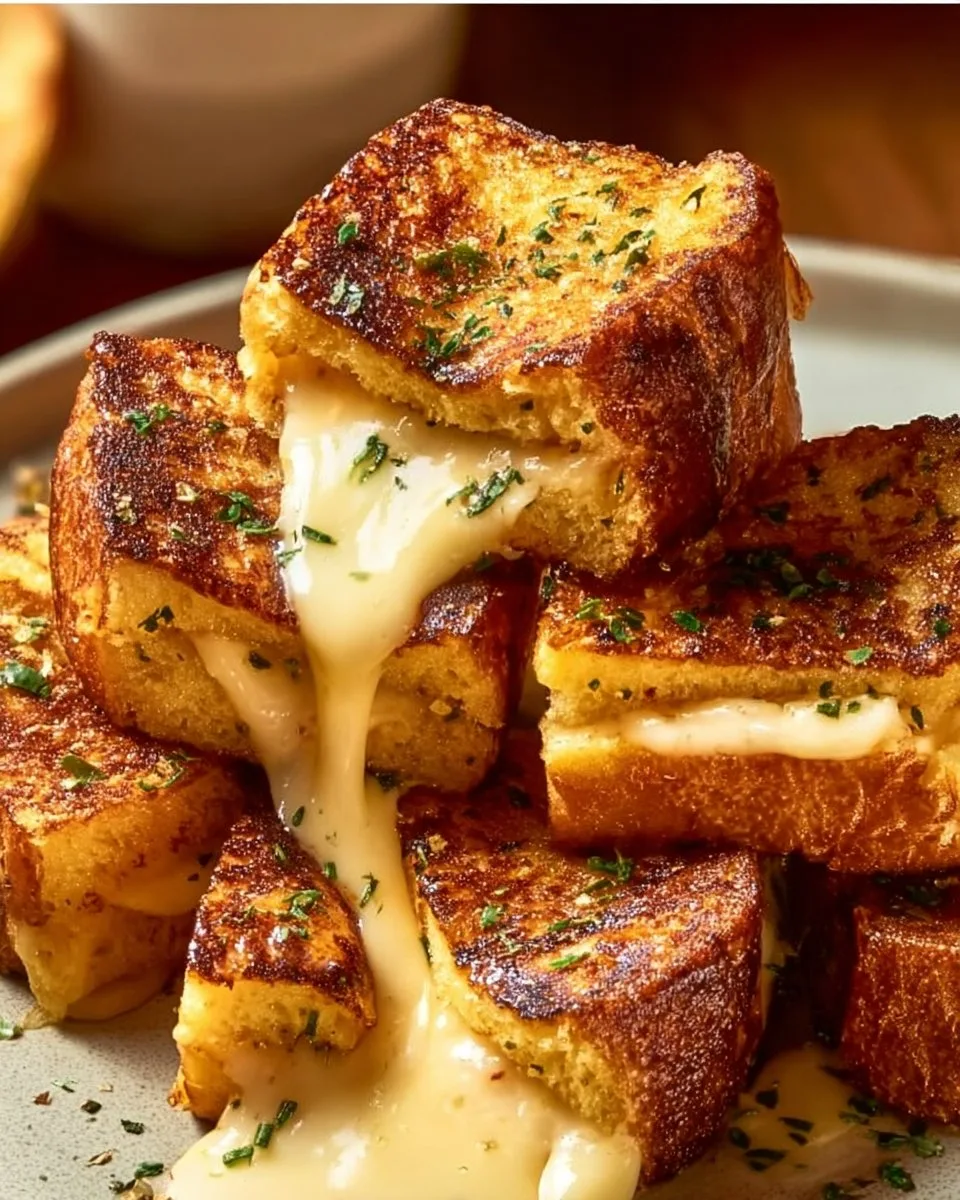
There is comfort built into the very name. Hawaiian rolls are soft and slightly sweet, so they bring a gentle lift to the classic grilled cheese. The sugar in the rolls caramelizes lightly at the edges, and that golden crust gives way to a buttery-soft middle filled with gooey Monterey Jack. It feels both familiar and a little indulgent.
This sandwich works for small celebrations or quiet nights when you want something special without fuss. It is quick enough for a midweek treat and pretty enough to serve when friends drop by. The sweet-salty balance is simple yet satisfying, and the texture range from crisp outside to melt-in-your-mouth inside makes each bite a moment.
I first made this for a Sunday brunch when my daughter wanted something warm and easy. The kitchen filled with buttery steam, and we both kept going back for one more bite until there were only crumbs. That little memory is exactly why I make it often.
Bringing Hawaiian Roll Grilled Cheese Together
“When the kitchen smells like vanilla and butter, you know something special’s baking.”
Before you start, gather everything you need and set a skillet on the stove to warm up. You want a golden crust and a cheese pull that stretches long and soft. Watch for visual cues: the rolls should be glossy from the butter, and the cheese should bubble gently and flow toward the edges. The aroma is an easy guide. Once you smell that sweet butter and warm cheese, you are almost there.
This section lays out the feel of the process. Move steadily. Butter the rolls well so they toast evenly. Use a medium heat so the bread browns slowly and the cheese has time to melt through. Keep a gentle press with a spatula while grilling to help the layers hug and create that perfect, even melt.
Ingredients You’ll Need
all 4 Hawaiian rolls
1 cup shredded Monterey Jack cheese
2 tablespoons unsalted butter
Optional: Sliced tomatoes or crispy bacon
Use real butter if you can; it makes every bite worth it. Good quality Monterey Jack melts beautifully and keeps the filling mild and creamy. If you choose to add sliced tomatoes or crispy bacon as optional extras, put them inside between the cheese layers so they warm through without making the roll soggy. For a clearer texture, pat any tomato slices dry first.
If you like, keep a small plate nearby for discarded paper or wrappers and a spatula with a thin edge. Those little tools keep the cooking smooth and tidy.
Step-by-Step Directions
- Slice the Hawaiian rolls in half without cutting all the way through.
- Use a sharp knife and a steady hand to keep the rolls hinged.
- Open them gently so they sit flat on the skillet later.
- Preheat a non-stick skillet over medium heat and butter the insides of each roll.
- Melt the butter and spread it lightly so it covers the cut surface well.
- The butter should form a thin, even sheen that will brown and crisp.
- Place the bottom halves of the rolls on the skillet and fill generously with cheese. Press down slightly with the top halves.
- Pile the Monterey Jack so there is a soft, even layer that will melt well.
- Press gently with a spatula to help the cheese meet the top half.
- Grill until golden brown, about 3-4 minutes per side, flipping carefully.
- Watch the edges for color and the top for a slight shimmer.
- Use a spatula with a thin edge and flip with a steady motion.
- Once both sides are crispy and cheese is melted, remove from heat, slice, and serve hot.
- Let the sandwich sit for 30 seconds so the cheese settles but stays molten.
- Cut across to show the gooey filling and serve immediately.
Timing is everything. If you turn the heat too high, the bread will brown before the cheese can melt. If the heat is too low, the bread will take too long and the sandwich will become greasy. Medium heat usually hits the sweet spot. A non-stick skillet helps keep the bread from sticking and makes flipping much easier.
For a deeper crust, add a touch more butter to the pan. For a gentler melt, cover the skillet for a minute after closing the rolls. This traps warm air and helps the center reach that glossy, smooth texture without over-browning the outside.
Serving Hawaiian Roll Grilled Cheese With Love
Serve these sandwiches warm, alongside a small cup of coffee or a mug of tea. A scoop of vanilla ice cream makes a playful contrast for a dessert-style bite, and fresh fruit brightens the plate for a brunch crowd. For a simple presentation, arrange two halves on a small wooden board, add a few berries, and place a linen napkin underneath to give the scene a soft, homey look.
If you are sharing at a casual gathering, cut the rolls into smaller pieces and arrange them on a platter. The golden edges and melting cheese make a lovely sight, and guests will appreciate a small fork for those sticky bites. For a breakfast celebration like a birthday morning, pair with scrambled eggs and a small bowl of jam to spread on the side.
I like to tuck a sprig of mint or a citrus slice near the plate when I serve this for a light, fresh note. It cuts the richness in a pleasant way and makes the dish feel like a small, thoughtful treat. If you want to add a savory twist, consider a thin smear of grainy mustard or a few leaves of baby spinach inside the roll before grilling. You can also try pairing this grilled cheese with a cup of tomato soup for a classic, comforting meal. For a smoky accent, place a slice of crispy bacon inside before grilling, a method I enjoyed when I tried the bacon and caramelized onions variation found at this recipe.
Storage & Reheat Tips
Keep leftover sandwiches in an airtight container in the refrigerator for up to two days.
To reheat, place the sandwich in a skillet over low heat and cover lightly until the cheese loosens and the bread crisps again.
For a quick oven method, set the sandwich on a baking sheet at 325°F for 8 to 10 minutes.
To freeze, wrap the cooled sandwich tightly in plastic and place in a freezer bag for up to one month.
Thaw in the fridge overnight and reheat in a skillet for best texture.
When you reheat, avoid the microwave unless you plan to eat it immediately. The microwave will warm the cheese but will soften the crust and make the roll less satisfying. A skillet or oven brings back the crisp edges and the melty center. If you have many sandwiches to reheat, a toaster oven works well and keeps the outside golden. For a travel-friendly option, wrap warm sandwiches in foil for a picnic and they will hold heat for a short period.
If you want to freeze without worry, line the roll with a layer of parchment before wrapping so the butter does not soak the paper. That small step keeps the crust crisp when reheated.
If you plan to take the make-ahead route, you can assemble the rolls and store them ungrilled in the fridge for up to one day. When ready, grill them fresh. For more playful, portable ideas like turning this into a folded or wrapped style, consider the ideas in this grilled cheese burrito copycat guide at this post.
Sweet Tips & Tricks
- Use a good melting cheese. Monterey Jack is mild and creamy and melts into a smooth center.
- Shred your own cheese if you can; pre-shredded cheese often has anti-caking agents that affect melt.
- A blend with a bit of mild cheddar can add gentle depth.
- Watch your heat and timing.
- Medium heat is usually best for an even crust and a fully melted center.
- If the bread is browning too fast, lower the heat and cover the skillet briefly.
- Butter both cut sides lightly.
- A thin, even layer of butter crisps the rolls beautifully without making them greasy.
- Use unsalted butter so you can control salt through the rest of the ingredients.
- Let it rest for a moment before slicing.
- A 20 to 30 second rest after you remove from heat allows the cheese to settle and makes cutting cleaner.
- This keeps the filling from spilling and creates a neat slice.
- Clean as you go.
- Wipe the pan between batches if crumbs build up so each roll toasts evenly.
- Keep a small bowl for trimmings or wrappers to maintain a tidy workspace.
These simple notes come from many repeat kitchen tries. Small adjustments add up to a sandwich that feels polished without fuss.
Flavor Twists & Variations
- Tomato and Basil: Add a thin slice of tomato and a few torn basil leaves before grilling for a caprese-like bite. Pat the tomato dry so it does not wet the bread.
- Bacon and Caramelized Onion: Add crisp bacon and a spoonful of soft, sweet caramelized onion for a richer bite. The onion adds depth and warmth.
- Sweet Jam Finish: For a dessert-forward choice, add a thin smear of apricot or fig jam inside with the cheese for a sweet and salty contrast.
- Spicy Kick: Add a few drops of hot sauce or a sprinkle of red pepper flakes to the cheese for warmth.
- Three-Cheese Mix: Combine Monterey Jack with a little Gruyère and mild cheddar for a more complex melt and flavor.
- Fruit and Cheese: Try thin slices of pear or apple tucked inside for a crisp, fresh counterpoint.
- Herb Butter: Mix a pinch of dried thyme or oregano into the melted butter before spreading for an herby aroma.
I often rotate these variations based on what is in the fridge and who I am serving. They are small changes that make the sandwich feel new again without adding much time. If you are feeding a crowd, prepare two or three variations and label them on the serving board.
FAQs About Hawaiian Roll Grilled Cheese
Can I make this ahead of time?
Yes. Assemble the rolls and keep them ungrilled in the refrigerator for up to one day. Grill them just before serving so the crust stays crisp and the cheese melts fresh.
Can I use a different cheese?
Yes. Monterey Jack melts very well and has a mild flavor, but you can use mild cheddar, Gouda, or a blend. Avoid very dry, crumbly cheeses that do not melt smoothly.
How do I keep the rolls from getting soggy?
Pat any wet additions like tomatoes dry and butter the cut sides lightly, not heavily. Cook on medium heat so the outside crisps before any moisture has time to soak through.
Can I make mini versions for a party?
Yes. Use slider-sized Hawaiian rolls and assemble small sandwiches. Grill them in batches and keep them warm in a low oven until ready to serve.
Is there a way to reheat without losing texture?
Reheat in a skillet or toaster oven rather than in the microwave. The skillet brings back the golden crispness while warming the inside evenly.
A Final Sweet Note
I hope this Hawaiian Roll Grilled Cheese brings your kitchen the same buttery joy it brings mine. It is a small, simple thing that looks and tastes like comfort put into a neat, golden package. Make it for a birthday morning, a quiet night in with a book, or for a friend who needs a warm treat. The easy steps, the glossy cheese, and the soft, sweet bread come together to make a little everyday luxury worth sharing.
Cook with a steady hand, watch for those golden edges, and take the moment to breathe in the warm scent when it comes. Food like this is about care as much as it is about flavor. Share a piece and notice the small smiles it creates.
Conclusion
If you enjoy this version, you might also like the way other cooks make mini grilled cheeses; take a look at The Best Mini Grilled Cheese – Alex Turnbull, RDN, LD for more ideas on sizes and fillings. For another take on Hawaiian roll grilled cheese with a slightly different twist, this roundup from another home cook shows one popular method you may find inspiring: This Hawaiian Roll Grilled Cheese Recipe is THE. BEST.
Thank you for spending time in the kitchen with me. I hope this recipe becomes one of those small rituals you return to often.

Hawaiian Roll Grilled Cheese
Ingredients
Main Ingredients
- 4 pieces Hawaiian rolls
- 1 cup shredded Monterey Jack cheese Use real Monterey Jack for best melt.
- 2 tablespoons unsalted butter Use for greasing and grilling.
Optional Ingredients
- 1 slice sliced tomatoes Pat dry to avoid sogginess.
- 2 slices crispy bacon Add inside the sandwich for extra flavor.
Instructions
Preparation
- Slice the Hawaiian rolls in half without cutting all the way through.
- Preheat a non-stick skillet over medium heat and butter the insides of each roll.
Cooking
- Place the bottom halves of the rolls on the skillet and fill generously with cheese. Press down slightly with the top halves.
- Grill until golden brown, about 3-4 minutes per side, flipping carefully.
- Once both sides are crispy and cheese is melted, remove from heat, slice, and serve hot.