The kitchen smells like warm chocolate and a little mischief as the kids hover with plates in hand. I love that moment when something simple turns into a family favorite, and that is exactly what happens with Oreo Dump Cake Recipe – Just 5 Ingredients. It is the kind of recipe you throw together between homework and bath time, and somehow it shows up at the table like you planned it for hours. If you like easy wins and a chocolate fix without a ton of fuss, you are in the right place. Also, if you want another quick dump-cake idea for a busy night, check out this easy pecan pie dump cake recipe for variety.
Why This Recipe Always Works for Busy Nights
This Oreo Dump Cake Recipe – Just 5 Ingredients deserves a spot in your weeknight rotation because it solves three dinner dilemmas at once: fast prep, minimal cleanup, and dessert-level satisfaction. You do not need to be a pastry chef to pull this off. In fact, you barely need to be awake.
The prep time is short, and the oven does the heavy lifting. That means you can get dinner on the table, help with homework, and still look like the hero at dessert. Meanwhile, the kids get chocolate and the adults get a small, comforting win.
This recipe is flexible. Swap topping choices. Add a scoop of ice cream. Serve it warm or at room temperature and no one will complain. That kind of versatility is gold when the week gets busy.
Finally, the flavor checks out. The chopped Oreos give texture, the pudding adds creaminess, and the cake mix bakes into a crisp, buttery top. It is a simple flavor logic that keeps everyone coming back for seconds.
Preparing Oreo Dump Cake Recipe – Just 5 Ingredients Without the Fuss
“If it smells this good halfway through, you know dinner’s gonna be great.”
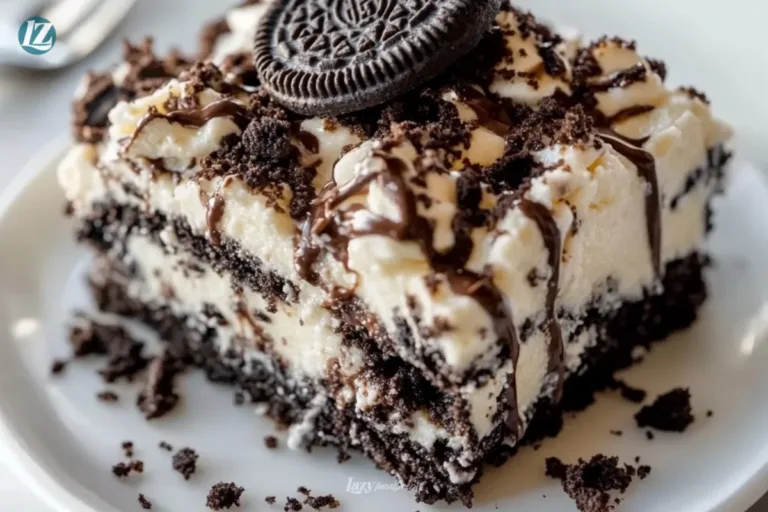
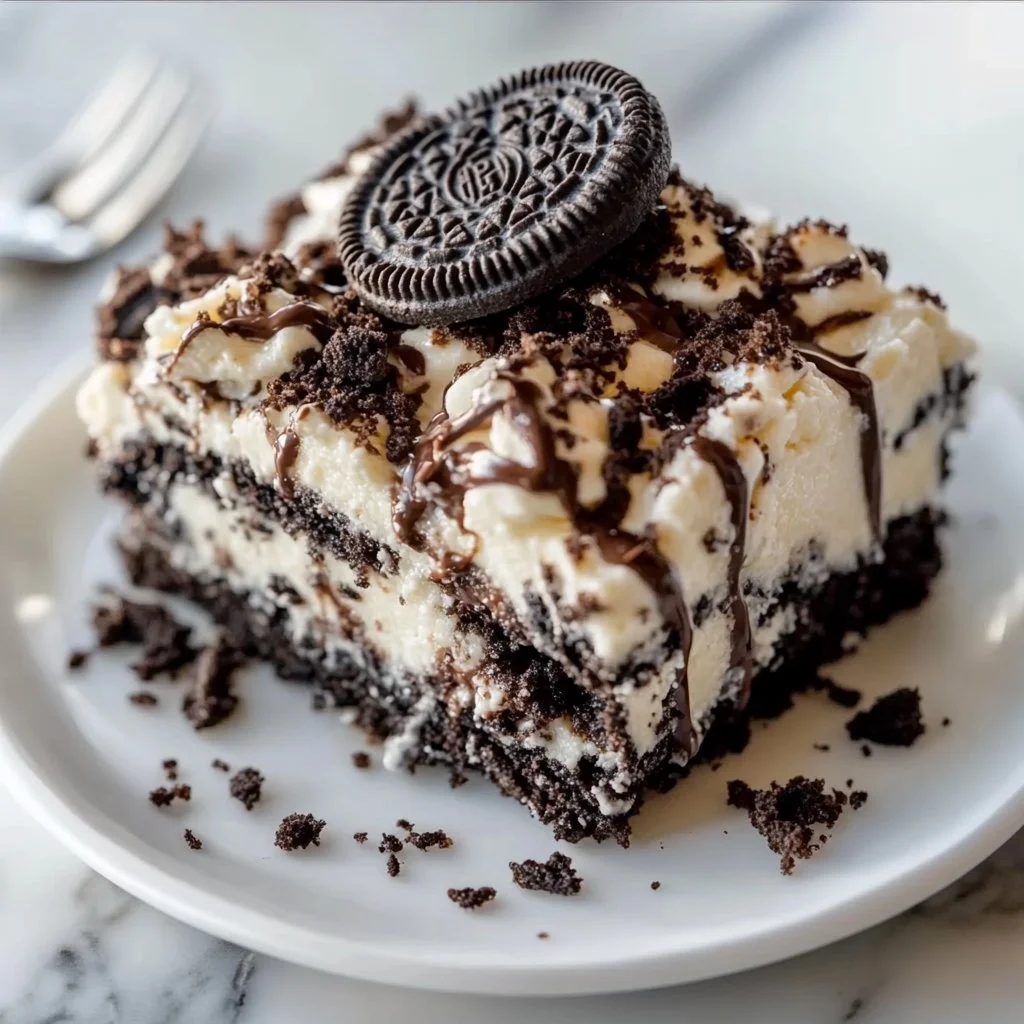
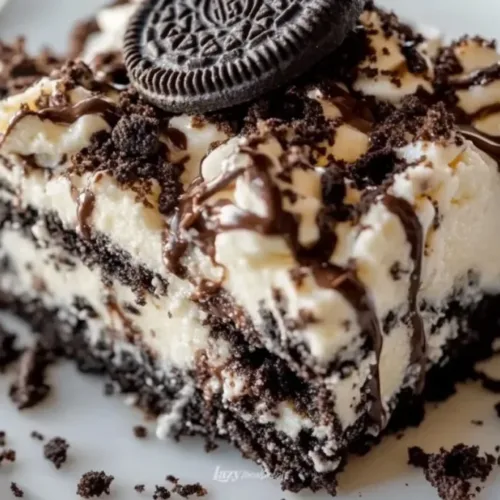
Before you jump into the numbered directions, here is a quick overview of what you are doing. First, you layer the chopped Oreos in the bottom of a greased 9×13 dish. Next up, you make instant pudding with cold milk and pour it over the Oreos. From there, dry chocolate cake mix goes on top followed by melted butter. Bake until the top is set and slightly crisp, then cool briefly and add whipped topping and chips.
As it bakes you should notice a deep chocolate aroma and a bubbly edge where the pudding meets the cake layer. The top will be golden brown in places and slightly crisp. Once cooled for about 10 minutes, the pudding layer firms up and the whipped topping is easier to spread.
This method gives you contrast: crunchy top, soft center, chewy cookie texture. Keep an eye on the edges for browning. A little brown adds flavor, but we do not want burned butter or dry cake. You have this.
Ingredients You’ll Need
24 Oreo cookies, roughly chopped
1 box (3.9 oz) instant chocolate pudding mix
2 cups cold milk
1 box (15.25 oz) chocolate cake mix
1/2 cup unsalted butter, melted
1 cup whipped topping (such as Cool Whip)
1/2 cup mini chocolate chips (optional)
Extra Oreo cookies for garnish (optional)
A few friendly side notes: no fancy equipment required. You do not need special baking skills to make Oreo Dump Cake Recipe – Just 5 Ingredients taste great. Use store-bought pudding and whipped topping to save time. If you do not have mini chips, regular chocolate chips work. Do not skip the cold milk with the pudding mix. It firms the filling.
For inspiration on other easy layered dessert ideas, I often pair this with recipes like this easy strawberry cheesecake dump cake recipe when I want to rotate family favorites.
Step-by-Step Directions
- Preheat your oven to 350°F (175°C). Lightly grease a 9×13-inch baking dish.
Preheating gives everything an even start so the pudding sets properly. - Spread the chopped Oreo cookies evenly over the bottom of the prepared baking dish.
Press lightly so there are no big cookie piles. Even layers bake more consistently. - In a medium bowl, whisk together the instant chocolate pudding mix and cold milk until thickened, about 2 minutes. Pour the pudding evenly over the Oreos.
Keep whisking until smooth. A few lumps will disappear as it firms in the oven. - Sprinkle the dry chocolate cake mix evenly over the pudding layer. Drizzle the melted butter over the cake mix, making sure to cover as much of the surface as possible.
Work from one side to the other so the butter reaches most of the dry mix. This helps create that crisp, buttery top. - Bake in the preheated oven for 35 minutes, or until the top is set and slightly crisp. Remove from oven and let cool for 10 minutes.
The edges should bubble and the top will be slightly golden. Let it rest so the layers settle. - Top with whipped topping, mini chocolate chips, and extra Oreo cookies if desired. Serve warm or at room temperature.
Add the topping just before serving so it stays light and cool against the warm cake.
Quick tips while you work: keep stirring the pudding until smooth. A little browning adds flavor, so do not worry if the top is spotty brown. If butter pools in one spot, tilt the pan a bit to spread it before baking.
The Cooking Process Explained
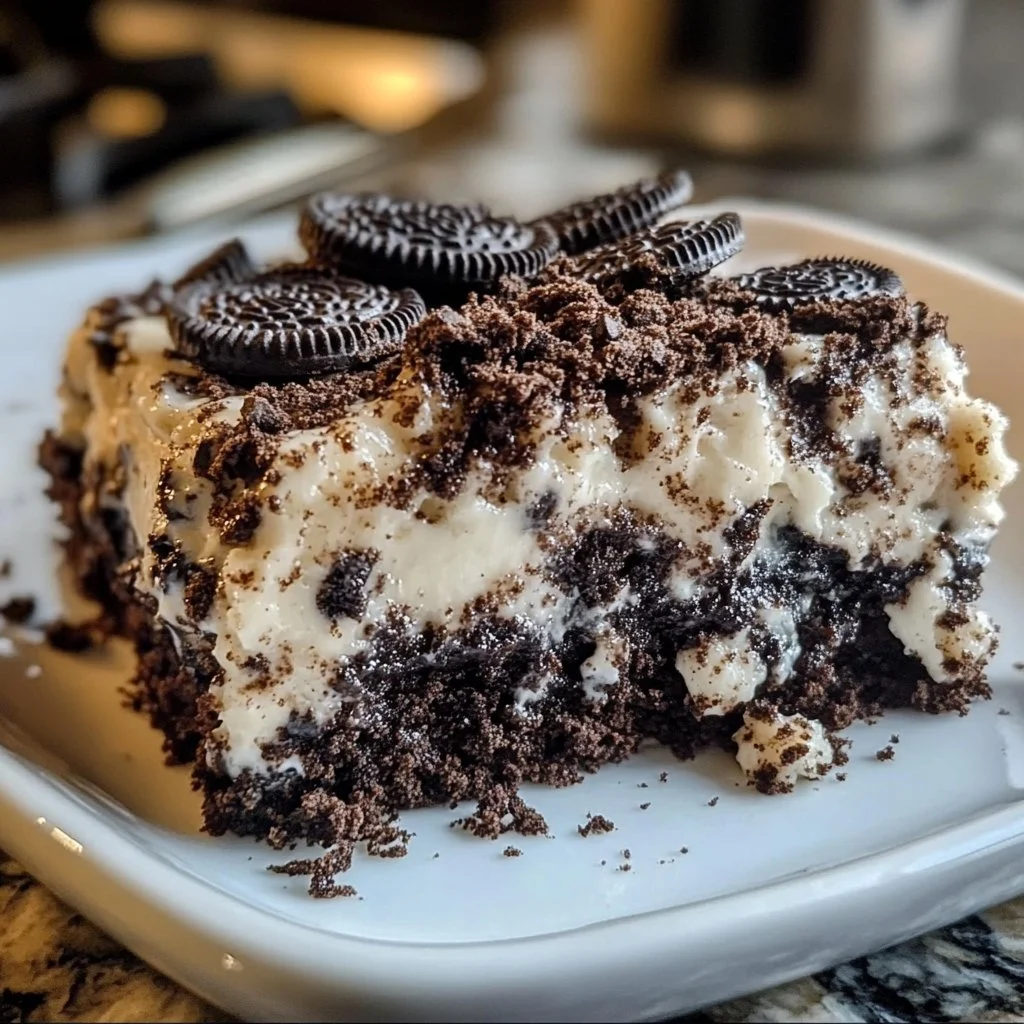
Think of this cake as a layered shortcut to homemade texture. The Oreos break down slightly when touched with pudding, creating a soft cookie layer. The pudding stays moist and creamy because it sits between the cookie crumbs and the dry cake mix. The dry cake mix absorbs melted butter and forms a crunchy, almost cobbler-like crust on top.
Cooking wise, the oven does two jobs at once. It sets the pudding and it bakes the dry cake mix into a crisp topping. You want about 35 minutes so the texture sets but the top does not become hard. If your oven runs hot, check at 30 minutes.
Flavor logic: chocolate on chocolate needs contrast. The whipped topping adds brightness. Mini chips add a textural zip. A sprinkle of crushed Oreos on top signals there is cookie inside and creates a finished look.
If the top looks too pale at 35 minutes, give it another 3 to 5 minutes. If it looks too brown, cover loosely with foil for the remaining time. That keeps the top from burning and allows the center to finish.
Serving Oreo Dump Cake Recipe – Just 5 Ingredients at the Table
This cake invites casual service. Spoon it into bowls straight from the pan for a family-style dessert. Use a wide spatula to get both crisp topping and soft center in each scoop. The contrast is the point.
If you want to dress it up, serve each portion with a scoop of vanilla ice cream and a drizzle of chocolate sauce. A few crushed Oreos on top make it feel a little special without extra fuss. For parties, transfer warm portions into ramekins for a individual presentation.
You can also portion this into meal-prep containers for quick sweet treats later in the week. It stores well and tastes great warmed. For a game-night platter, bake it in a sheet and set small bowls of toppings like whipped cream, chopped nuts, and extra cookies so guests can customize.
If you are thinking of pairing with savory sides, keep it simple. A strong cup of coffee or a cold glass of milk makes the cake shine. If the kids are involved, hand them spoons and win the night.
For ideas on other small-batch desserts that travel well to gatherings, I often reach for recipes like these apple crisp mini cheesecakes when I need to bring something shareable.
Storage & Reheat (No Soggy Leftovers)
Leftovers are inevitable. Store the cake covered in the refrigerator for up to 4 days. It keeps its texture fairly well because the pudding stays set.
If you want to freeze a portion, wrap individual squares in plastic wrap and then place them in a freezer-safe bag for up to 2 months. Thaw overnight in the refrigerator before reheating.
Reheating tips: the microwave works for a quick warmup, about 20 to 30 seconds for a single serving. The oven restores crispiness better. Place portions on a baking sheet and warm at 325°F (160°C) for 8 to 12 minutes. That revives the crisp top without overcooking the inside.
If the whipped topping is already on the cake, remove it before reheating and add fresh topping after warming. Whipped topping melts quickly and you want to keep that contrast between warm interior and cool topping. For honest result expectations, reheated cake will not perfectly match fresh-from-the-oven crunch, but it will still make people smile.
I also keep an eye on moisture. If you plan to reheat multiple times, portion portions so you reheat only what you will serve.
For other make-ahead ideas and quick weeknight shortcuts, check this reliable quick meal idea I use when time is tight 15-minute honey garlic shrimp recipe.
Quick Tips & Shortcuts
- Use room-temperature melted butter for even coverage. If the butter is too hot, it can make the cake mix clump.
- Roughly chop the Oreos so you have a mix of crumbs and bigger pieces. That gives you chew and crunch.
- If you do not have instant chocolate pudding, you can use the same-sized vanilla pudding and add 2 tablespoons of cocoa powder for a quick swap.
- Make ahead: assemble and refrigerate the unbaked dish for a few hours if you need to, then bake when ready. Baking time may increase by 5 to 10 minutes.
- Cleanup trick: line the bottom of the baking dish with parchment paper for easier removal and washing when serving in squares.
These are the small habits that save time and reduce mess. Keep a measuring cup handy for drizzling butter so you avoid puddles. Use a rubber spatula to spread the pudding so you do not disturb the Oreo layer too much.
Variations That Work
- Peanut butter twist: sprinkle 1/2 cup peanut butter chips on top of the pudding before the dry cake mix goes on. The combination of chocolate and peanut butter is classic and crowd-pleasing.
- Mint Oreo: use mint Oreos for a fresh, cool flavor. Add a handful of chopped Andes mints on top after baking.
- Salted caramel: drizzle warm salted caramel sauce over the whipped topping for a richer finish. A pinch of flaky sea salt gives balance.
- Lighter version: swap whipped topping with a lighter whipped cream and reduce the butter by about one tablespoon. The texture will be slightly less crisp on top but still satisfying.
- Fruity lift: fold 1 cup of raspberries into the pudding before you pour it over the Oreos. The tart berries cut through the chocolate and add brightness.
These tweaks are low-commitment and work without changing the method. Keep the structure the same and just adjust one add-in at a time to see what your family prefers.
Ethan’s Notes From the Kitchen
I first made a version of this on a weeknight when I wanted something my kids would eat that did not involve frying or extra cleanup. I remember watching the top bubble and thinking, this is too easy to be this good.
A small practical tip from experience: use a sharp knife or pastry cutter to chop the Oreos. If you crush them too fine, the base turns into mush. A mix of small crumbs and larger chunks gives the best textural contrast.
Another thing I do is set a timer for 30 minutes and check the top. Ovens vary and visual cues matter more than the clock sometimes. If you see the edges bubbling and the top is lightly browned, you are very close.
Finally, do not overthink the toppings. The whipped topping and extra chips are optional, but they make the first bite feel like a celebration. Your family will notice the effort even if it only took ten minutes to assemble.
FAQs About Oreo Dump Cake Recipe – Just 5 Ingredients
Can I make this ahead?
Yep. It actually tastes even better the next day when the flavors settle. Bake it, cool, then cover and refrigerate. Warm it briefly before serving if you want the crisp top back.
Can I use a different cookie besides Oreos?
Yes. Chocolate sandwich cookies work best for the flavor profile, but you can experiment. Keep the cookie count roughly the same and adjust chopping size.
My top browned too fast. What happened?
Your oven might run hot. Next time check at 30 minutes and cover loosely with foil for the last 10 minutes to protect the top.
Can I use homemade pudding?
Sure. If you make homemade pudding, make it slightly thicker than usual because it will sit between layers and needs some structure. Cool it before layering.
Will this be too sweet?
It is a sweet dessert, so balance it with a dollop of unsweetened whipped cream or a scoop of vanilla ice cream to soften the sweetness. A little flaky salt on top can also help.
Making Oreo Dump Cake Recipe – Just 5 Ingredients Last
If you want to stretch this dessert across a few nights, portion it when it is cool and store in airtight containers. The center stays moist and satisfying. For a frozen snack, par-bake for 20 minutes, cool, and freeze in single-serve cups. Finish baking from frozen at 325°F until warmed through and the top crisps.
I know the temptation to pile on whipped topping right away. Resist that if you plan to store the cake. Add fresh whipped topping when you are ready to serve so it keeps the texture you want.
Also, keep a spare box of chocolate cake mix in the pantry. It is a small investment for a reliable two-bite fix on nights when energy is low. Simple staples like this are what make weeknight cooking feel easier.
Family Twists on Oreo Dump Cake Recipe – Just 5 Ingredients
My kids like a version with extra cookie chunks on top so they can find crunchy pockets. My partner likes a sprinkle of coarse sea salt and a thin ribbon of caramel. For sleepover nights, I add mini marshmallows to the pudding layer for a s’mores vibe.
If you are feeding a crowd, double the recipe and use two pans. For a potluck, bake in disposable aluminum trays so transport is easier. These small changes keep the base recipe intact while making it fit any event.
One Last Practical Note on Tools and Timing
You need only a medium bowl, a whisk, a 9×13 pan, and a spatula. No mixer. No fancy pans. The simple toolset saves cleanup time and reduces decision fatigue.
Oven time is the main critical factor. Start checking at 30 minutes. The visual and aromatic cues will guide you more than the clock. Once the top sets and the edges bubble, you are ready for the 10-minute cooldown before topping.
Trust the process. You are letting ingredients do what they do best. The pudding sets, the cake mix crisps, and the Oreos soften just enough to be heavenly.
A Final Bite
If your family licks the pan clean, do not say I did not warn you. This Oreo Dump Cake Recipe – Just 5 Ingredients is an honest weeknight favorite that looks and tastes like more work than it takes. It is forgiving, fast, and overwhelmingly loved by kids and adults alike. You can swap toppings, make it ahead, and tweak it without fear.
For another solid version and a slightly different take, I often compare recipes to learn small tricks. If you want to see a classic spin, check out Oreo Dump Cake – The Country Cook for a straightforward comparison, and if you want a second opinion with step-by-step photos try Oreo Dump Cake – Only 5 Ingredients for more inspiration.
Oreo Dump Cake
Ingredients
Main Ingredients
- 24 cookies Oreo cookies, roughly chopped
- 1 box (3.9 oz) instant chocolate pudding mix Use cold milk with this.
- 2 cups cold milk Chilled for best results.
- 1 box (15.25 oz) chocolate cake mix Dry mix, do not prepare.
- 1/2 cup unsalted butter, melted Room temperature butter is best for even coverage.
Toppings
- 1 cup whipped topping (such as Cool Whip) Add just before serving.
- 1/2 cup mini chocolate chips (optional) Regular chocolate chips can also be used.
- Extra cookies Oreo cookies for garnish (optional)
Instructions
Preparation
- Preheat your oven to 350°F (175°C). Lightly grease a 9×13-inch baking dish.
- Spread the chopped Oreo cookies evenly over the bottom of the prepared baking dish. Press lightly for even layers.
- In a medium bowl, whisk together the instant chocolate pudding mix and cold milk until thickened, about 2 minutes. Pour evenly over the Oreos.
- Sprinkle the dry chocolate cake mix evenly over the pudding layer. Drizzle the melted butter over the cake mix.
- Bake in the preheated oven for 35 minutes or until the top is set and slightly crisp.
- Remove from oven and let cool for 10 minutes.
- Top with whipped topping, mini chocolate chips, and extra Oreo cookies if desired.
- Serve warm or at room temperature.