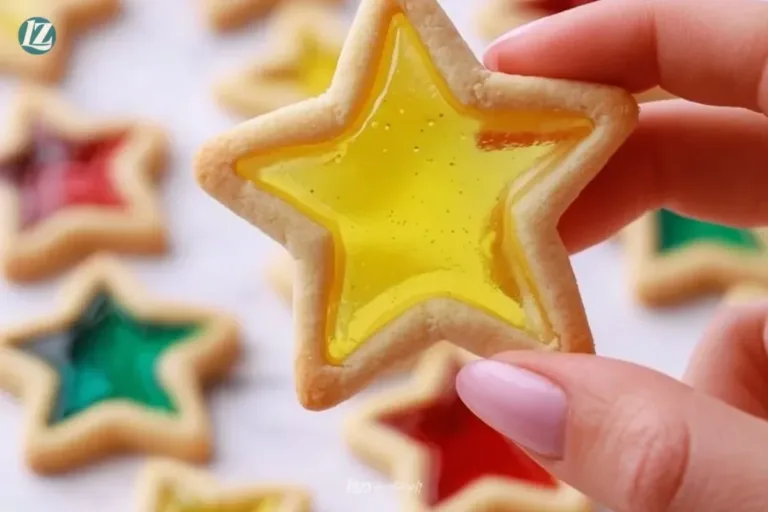
I still remember the smell. Growing up, it wafted through our kitchen on chilly winter afternoons. My mom would pull out her rolling pin, and I knew it was time for Stained Glass Cookies. The sweet scent of sugar mingling with the warm vanilla always promised a moment of joy. As we shaped the cookies, laughter filled the air, and the colorful Jolly Ranchers sparkled like little jewels, turning the kitchen into a haven of warmth and coziness. Each cookie became a canvas, a little piece of art that brought us together, a tradition as bright and cheery as the cookies themselves.
Why Stained Glass Cookies Still Feels Like Home
Stained Glass Cookies are more than just a treat; they evoke cherished memories of family gatherings and shared moments. They remind me of the holidays, when the house is alive with the chatter of loved ones, and everyone feels a little closer. Each time I bake these cookies, I think of my mother swaying to soft tunes in the kitchen while guiding me in creating these decorative delights.
As we pressed the dough with vibrant, cheerful colors, it was like painting with edible art. The laughter, stories, and delectable treats established a sense of belonging. For my family, Stained Glass Cookies are a symbol of love, creativity, and the little moments that matter most. The process of making these cookies feels like gathering around a warm fire, sharing stories that weave us all together.
Bringing Stained Glass Cookies Together
“Every time I stir this pot, it smells just like Sunday at home.”
Stained Glass Cookies are truly simple to make, yet they bring immense joy. Each step of the process from creaming the butter and sugar to watching the cookies bake in the oven fills your kitchen with a sense of anticipation. As you slice into the colorful designs once baked, you will hear the soft crunch of the cookies that hints at the delight within.
Ready to dive in? Let’s gather our ingredients and start creating those beautiful, glimmering delights together.
Ingredients You’ll Need
The magic in Stained Glass Cookies comes from simple ingredients that blend to create something extraordinary. Here’s what you will need:
- 1 cup unsalted butter, softened
- 1 cup granulated sugar
- 1 egg
- 1 teaspoon vanilla extract
- 3 cups all-purpose flour
- 1/2 teaspoon salt
- 1 cup crushed Jolly Ranchers (assorted colors)
When gathering your ingredients, keep in mind that fresh butter makes all the difference in taste. And if you have a little cinnamon in the pantry, don’t hesitate to toss in a pinch. It will add a cozy spice that wraps around you like a warm hug.
Step-by-Step Directions
- In a large bowl, cream together the butter and sugar until light and fluffy. This step is crucial as it creates a soft texture. You will love watching it turn creamy it’s one of the best parts of cookie-making.
- Beat in the egg and vanilla extract until well combined. Take a moment to enjoy that familiar, sweet aroma wafting up as you mix.
- In another bowl, whisk together the flour and salt. This will create a lighter texture in your cookies, and it’s a lovely sight as the flour swirls.
- Gradually add the dry ingredients to the wet mixture until combined. Mix until you don’t see any dry flour. Your dough should become a lovely, soft ball.
- Divide the dough into two halves and wrap each half in plastic wrap. Chill in the refrigerator for at least an hour. This sets the dough, helping to shape beautiful cookies.
- Preheat the oven to 350°F (175°C). While it warms up, you can daydream about the fun shapes these cookies will take.
- Roll out one piece of dough on a lightly floured surface to about 1/4 inch thick. The sound of the rolling pin gliding over the dough is music. Make sure to keep a light hand so you don’t get too thin.
- Use cookie cutters to cut out cookie shapes. From stars to hearts, all shapes work perfectly.
- Use a smaller cookie cutter to cut out the center of each cookie to create a window. It’s like making little masterpieces that will soon shine.
- Place the cookies on a baking sheet lined with parchment paper. The parchment helps prevent sticking and makes clean-up easier.
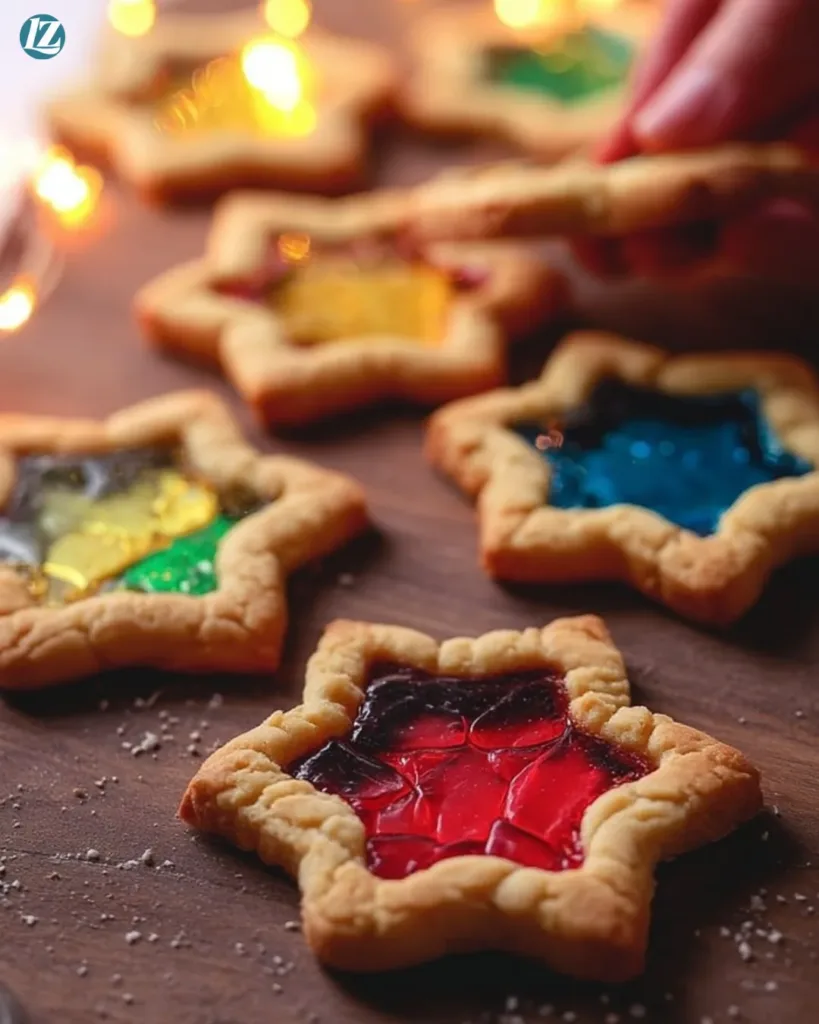
- Fill the centers with crushed Jolly Ranchers. Make sure to spill them lovingly into the holes. Each cookie will soon become a vibrant treat.
- Bake for 8-10 minutes or until the edges are lightly golden. Watch through the oven window as the colorful candy melts into a vibrant center.
- Let the cookies cool completely on a wire rack before decorating or displaying. This is the hardest part waiting to see the finished treats.
As the aroma engulfs you, note how every moment you spent preparing these cookies becomes filled with love and care.
Serving Stained Glass Cookies with Family Warmth
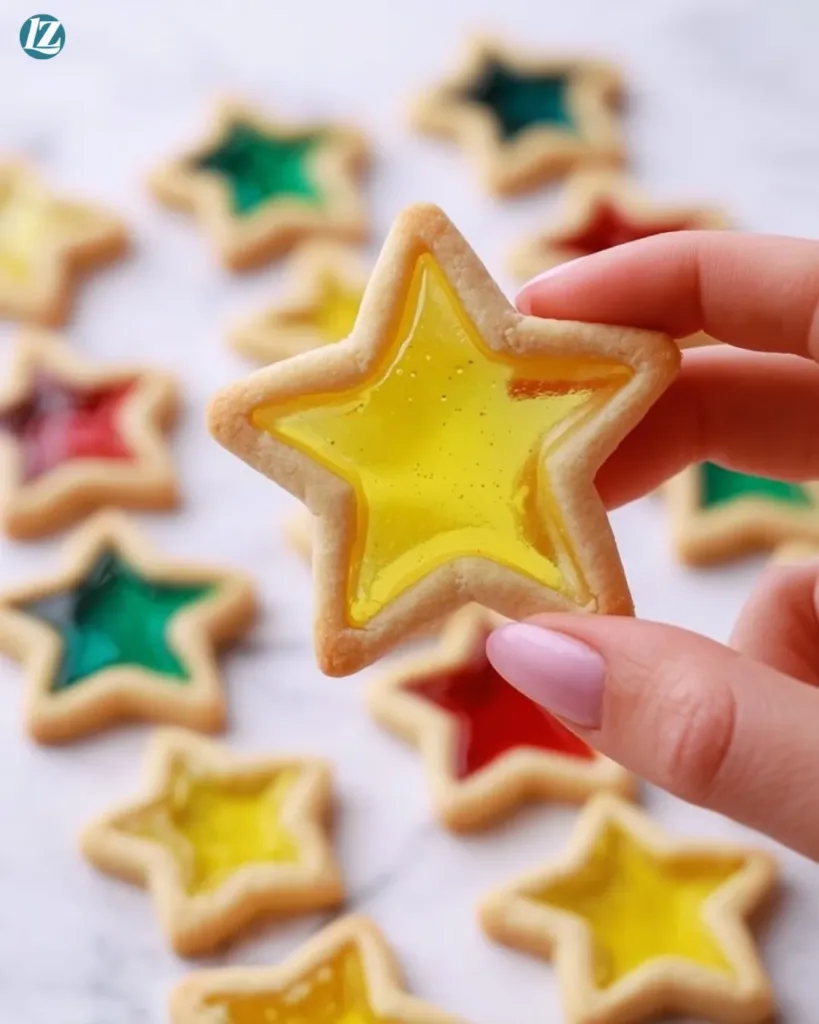
When it comes to serving Stained Glass Cookies, the options are as bright as the cookies themselves. I love to place them on a beautiful platter, showcasing the colorful windows. They seem to glow under soft kitchen lights, promising delight to everyone who sees them.
Gather your loved ones around the table. Share stories, thoughts, and laughter as you pass the platter around. Perhaps even arrange them for a holiday gathering, letting the vibrant colors spark conversations and smiles.
You might also think about enjoying a few with hot cocoa or a warm cup of tea. The warmth of the drink complements the sweet crunch of the cookie. Don’t shy away from sprinkling powdered sugar on top for an extra touch of sweetness.
Storing Stained Glass Cookies for Tomorrow
Let’s talk about keeping those delightful Stained Glass Cookies fresh and enjoyable. Proper storage can help retain their taste and texture. You can place them in an airtight container, which helps seal in the flavors.
They’ll stay fresh for about a week on the counter. The flavors can deepen overnight, so they become even more delightful. If you need to, you can pop them in the fridge for even longer storage, but I promise they won’t last that long with all that color and crunch!
When you’re ready to enjoy them again, just bring them back to room temperature. They will still be just as lovely.
Got Leftovers? Make Them Work for You
Leftovers aren’t a punishment they’re tomorrow’s head start. Chop last night’s roasted veg into a quick omelet, tuck shredded chicken into warm tortillas, or stash a soup portion in the freezer for a lazy-night rescue. Store smart, reheat gently, and keep the add-ins simple so flavors stay bright. Want more no-stress ideas? See more easy tips here.
Little Kitchen Notes
Here are a few tips that I’ve picked up over the years while baking Stained Glass Cookies:
- Substitutions: If you’re looking for a healthier option, consider using coconut oil instead of butter. It lends a lovely flavor, though the texture will vary slightly.
- Prep shortcuts: To save time, you can make the dough a day ahead and chill overnight. It saves time on a busy baking day.
- Texture advice: If your dough feels too sticky, a sprinkle of flour helps. Just avoid overdoing it, or you may change the texture.
- Cleanup made easier: To keep your counters clean, roll the dough between two pieces of parchment paper. You can simple lift and move without making a mess.
Family Variations on Stained Glass Cookies
Over the years, my family and I have played with the original recipe to fit our ever-evolving tastes. Sometimes, we love adding a hint of almond extract or zest from citrus fruits like lemon or orange for a zingy flavor.
Others in the family have enjoyed using different types of hard candies, like Skittles or fruit drops, for unique twists and flavors. What matters most is the joy of creating something together those little variations give new life to an old favorite.

Stained Glass Cookies
Ingredients
Main Ingredients
- 1 cup unsalted butter, softened Fresh butter makes all the difference in taste.
- 1 cup granulated sugar
- 1 egg
- 1 teaspoon vanilla extract
- 3 cups all-purpose flour
- 1/2 teaspoon salt
- 1 cup crushed Jolly Ranchers (assorted colors) These will create the stained glass effect.
Instructions
Preparation
- In a large bowl, cream together the butter and sugar until light and fluffy.
- Beat in the egg and vanilla extract until well combined.
- In another bowl, whisk together the flour and salt.
- Gradually add the dry ingredients to the wet mixture until combined.
- Divide the dough into two halves and wrap each half in plastic wrap. Chill in the refrigerator for at least an hour.
Baking
- Preheat the oven to 350°F (175°C).
- Roll out one piece of dough on a lightly floured surface to about 1/4 inch thick.
- Use cookie cutters to cut out cookie shapes.
- Use a smaller cookie cutter to cut out the center of each cookie to create a window.
- Place the cookies on a baking sheet lined with parchment paper.
- Fill the centers with crushed Jolly Ranchers.
- Bake for 8-10 minutes or until the edges are lightly golden.
- Let the cookies cool completely on a wire rack before decorating or displaying.
Notes
Nutrition
Lazy Cook’s Pro Tips
Smart tweaks make all the difference. Line sheet pans with parchment to skip the scrub, stash minced garlic in the fridge for instant flavor, and double-batch sauces so you’ve always got a quick fix ready for busy nights. These small habits keep weeknight cooking simple without losing an ounce of taste. See more time-saving tips here and make dinner feel easy again.
FAQs About Stained Glass Cookies
Can I bake this a day ahead?
Yes, and honestly, it tastes even better the next day when the flavors settle together.
How should I store the cookies?
Keep them in an airtight container at room temperature for up to a week. They will remain just as delightful.
What if my cookies don’t hold their shape?
If you notice this, try chilling the dough a bit longer before rolling it out. It helps keep their shape during baking.
Can I freeze them?
Absolutely! You can freeze baked cookies for up to three months. Just make sure to use freezer-safe containers.
What can I do with left-over dough?
The extra dough can be wrapped and frozen for another baking day. Or you can make smaller cookies to use up what you have.
A Warm Note From My Kitchen
As I reminisce about baking at home, I find myself hoping that Stained Glass Cookies bring your kitchen the same quiet joy it brings mine. Recreating these treats allows memories to flow, filling your home with warmth and laughter, a reminder of what truly matters family and togetherness.
May your kitchen become brighter with every colorful cookie that comes from this cherished recipe. Happy baking!
What’s Cooking in Your Kitchen?
Tried this recipe your own way? I want to see it. Snap a quick pic and tag us, or drop a comment with what you tweaked. Lazy cooking works best when we swap ideas and your spin might be the next Lazy Meal Prep favorite.
Post your photo and tag @lazy_mealprep I’ll share my favorites in stories.