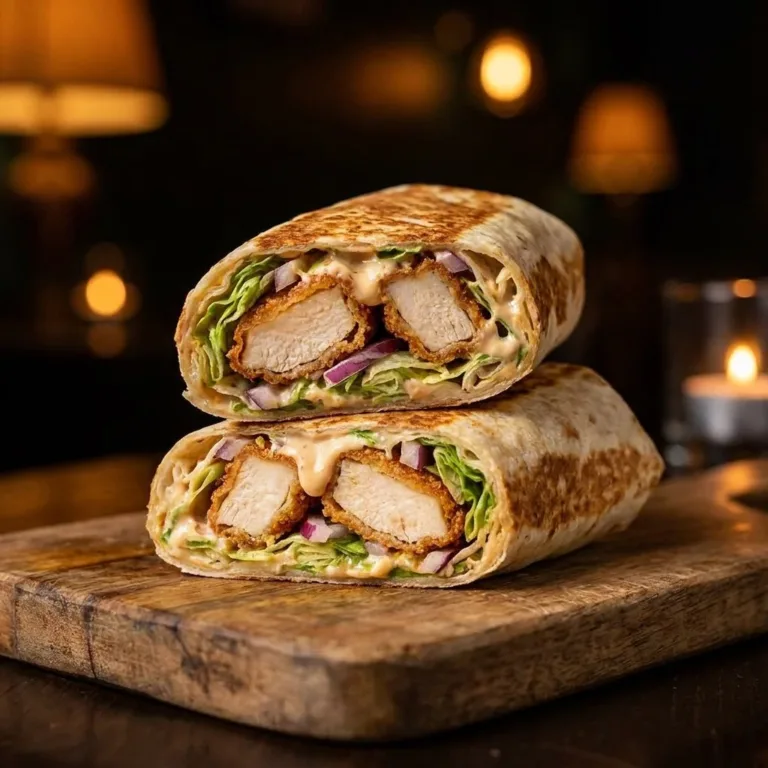
The aroma of sizzling chicken wafts through the kitchen, wrapping me in a blanket of warmth and nostalgia. As I prepare to assemble my Crispy Chicken Caesar Wrap, memories flood back of family gatherings where laughter echoed and good food brought us closer together. This beloved recipe has become a cherished tradition in our home, offering both comfort and joy in each bite. The crispy texture of the chicken combined with the freshness of romaine lettuce creates a delightful experience that feels like a gentle hug from the inside out. You may also find Crispy Chicken Caesar Wrap useful.
Why This Crispy Chicken Caesar Wrap Means So Much
Every family has those go-to recipes, the ones that carry stories and warmth through generations. My Crispy Chicken Caesar Wrap embodies such comfort. Growing up, my mom would prepare this dish on casual Sunday evenings, making it a special occasion. The simple act of rolling up each wrap was a family affair, with everyone diving into the kitchen to lend a hand, share a laugh, or sneak a taste of the delicious chicken before it made its way into the wraps. You may also find Crispy Chicken Caesar Wraps Comfort useful.
The combination of crispy chicken and creamy dressing always had my family running to the table. We’d gather around and savor not just the food but the joy it brought. Preparing this wrap at home now brings back those cherished moments, stirring nostalgia with every ingredient I reach for. The tang of lemon, the crunch of panko, and the soft embrace of tortillas unite to create a meal that feels like home, no matter where we gather. You may also find 10 Minute Chicken Caesar Wrap useful.
How to Make Crispy Chicken Caesar Wrap
“Every time I stir this pot, it smells just like Sunday at home.”
Making the Crispy Chicken Caesar Wrap is a simple process that yields mouthwatering results, perfect for any busy day or family gathering. You can have the comfort of this meal without extensive preparation. To start, it’s essential to have everything prepped and ready to ensure a smooth cooking experience. The excitement of the cooking process is undeniable, as the vibrant colors and rich aromas signal that a delightful dinner is on the way. You may also find 10 Minute Chicken Caesar Wraps useful.
Here are the ingredients you’ll need:
Ingredients You’ll Need
- 2 medium boneless, skinless chicken breasts (about 12 oz / 340g)
- ½ cup all-purpose flour (60g)
- 2 large eggs
- 1 cup panko breadcrumbs (100g)
- 1 head romaine lettuce, chopped (about 150g)
- 4 large flour tortillas (10-inch / 25cm)
- ½ cup freshly grated Parmesan cheese (50g)
- 2 cloves garlic, minced (about 1 teaspoon)
- 2 anchovy fillets, finely chopped (optional but recommended)
- 2 tablespoons fresh lemon juice (30ml)
- 1 teaspoon Dijon mustard
- 1 teaspoon Worcestershire sauce
- ⅓ cup mayonnaise (80ml), preferably full-fat
- 2 tablespoons extra virgin olive oil (30ml)
- Salt and black pepper, to taste
- Optional add-ins: halved cherry tomatoes, avocado slices, crispy bacon bits
As you gather your ingredients, think about personal touches you may wish to include. Perhaps a dash more cayenne pepper for a bit of heat, or the crunch of crispy bacon bits sprinkled throughout.
Step-by-Step Directions
Begin by trimming any fat from the chicken breasts and pounding them to an even thickness if needed. It’s crucial to have uniform pieces for even cooking. Pat the chicken dry with paper towels, ensuring a crispy crust later.
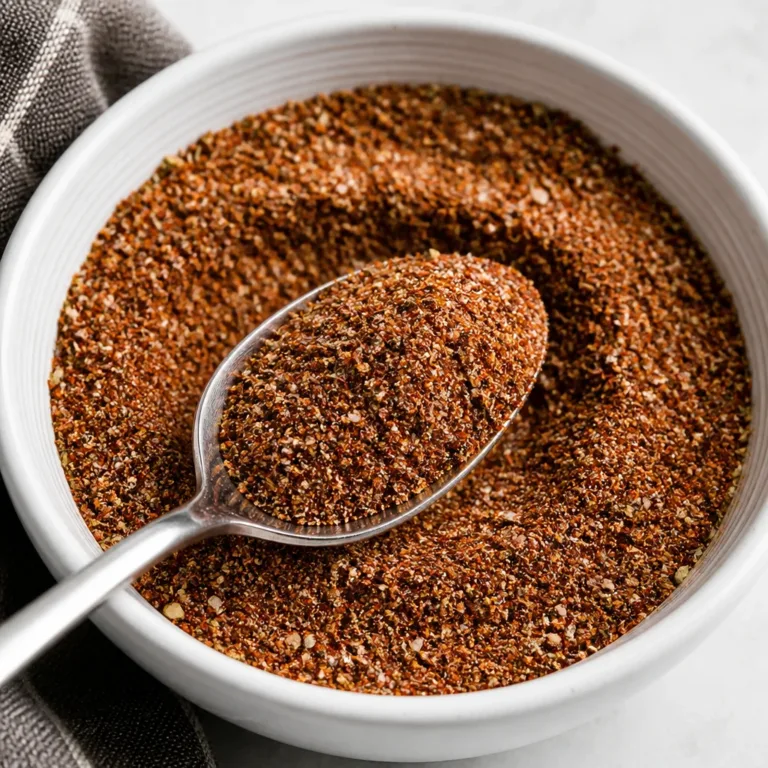
Set up three bowls: first for the flour seasoned with salt and pepper, the second for the beaten eggs, and the third for the panko breadcrumbs. The crunchy panko will give that delicious crispiness we all love.
Dip each chicken breast first into the seasoned flour, shaking off any excess. Then, move it to the eggs, allowing the coating to stick. Finally, press the chicken breasts into the panko breadcrumbs, ensuring they are thoroughly covered.
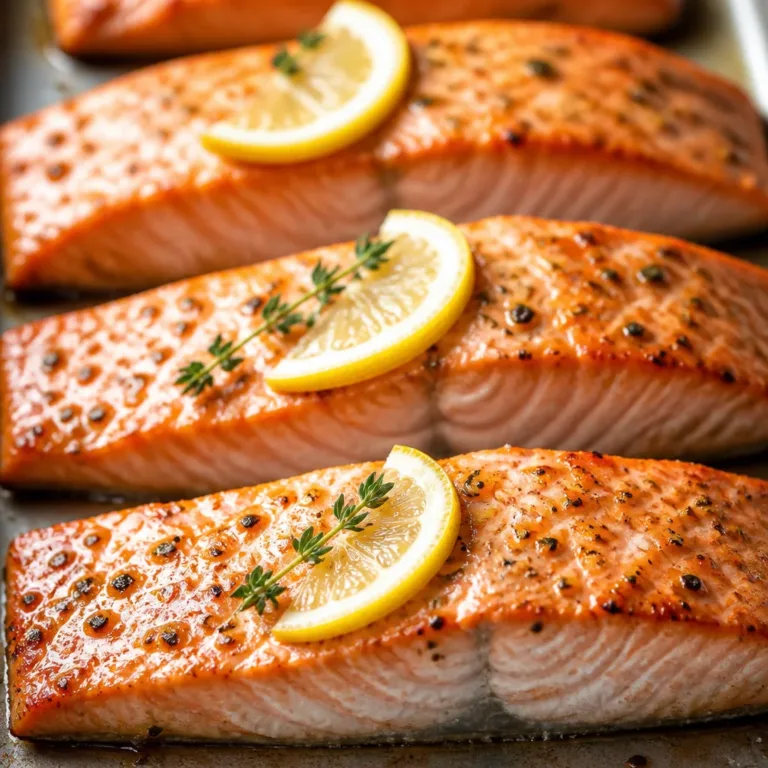
Heat about 3 tablespoons of olive oil in a large skillet over medium heat. Once the oil is shimmering, carefully add the chicken breasts. Fry for 5-6 minutes per side until they are golden brown and cooked through, with an internal temperature reaching 165°F (74°C). Once done, drain them on paper towels and allow them to rest for about 5 minutes before slicing into strips.
In a separate bowl, whisk together minced garlic, chopped anchovies, lemon juice, Dijon mustard, Worcestershire sauce, and mayonnaise until smooth. A slow drizzle of olive oil while whisking will emulsify the dressing beautifully. Finally, stir in the freshly grated Parmesan cheese and season with salt and black pepper to taste.
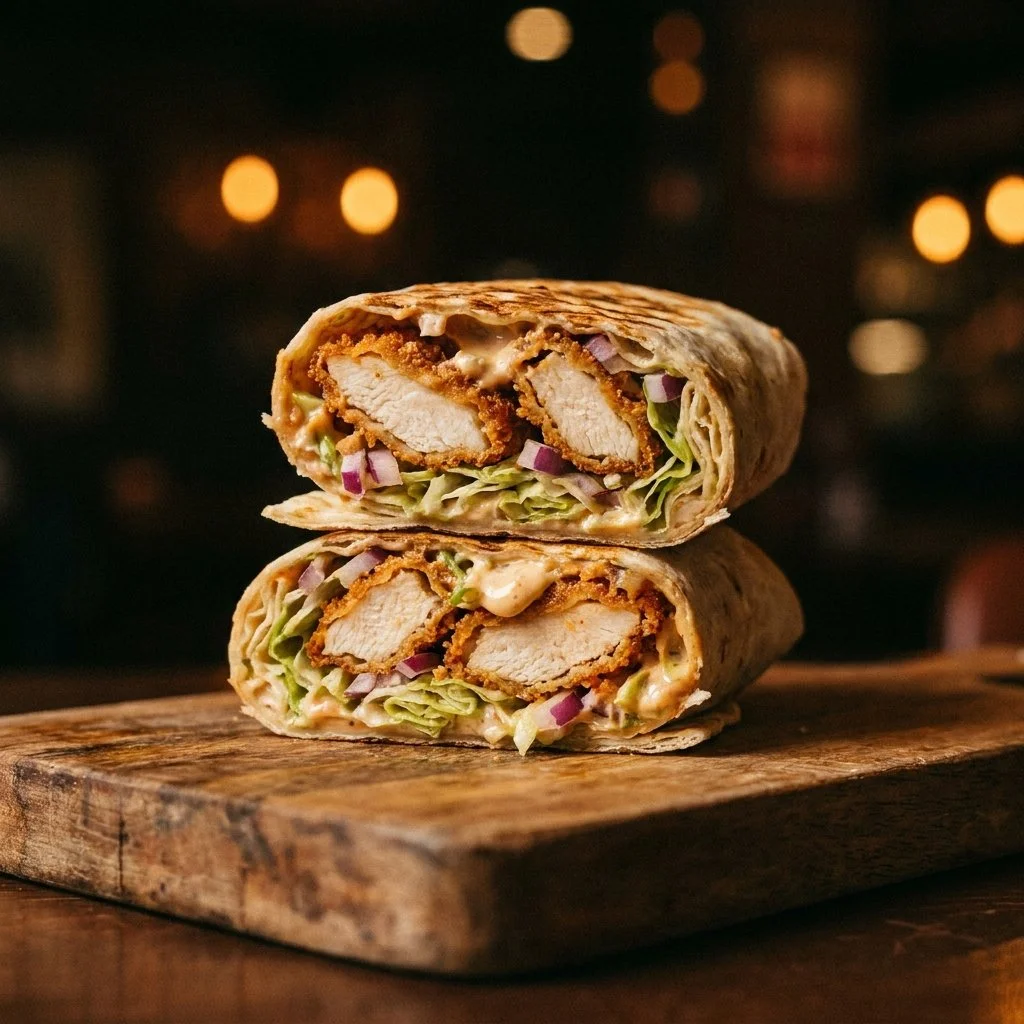
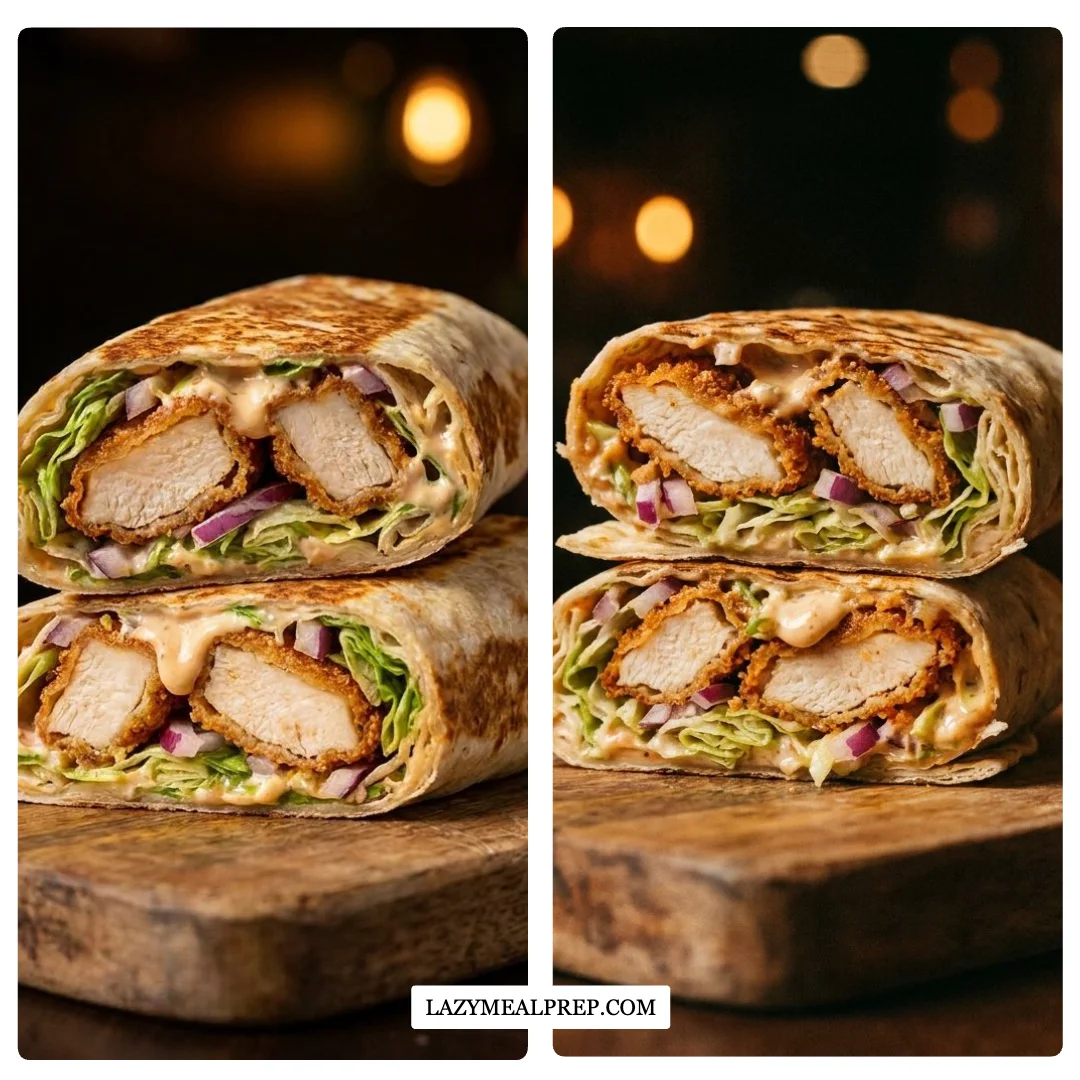
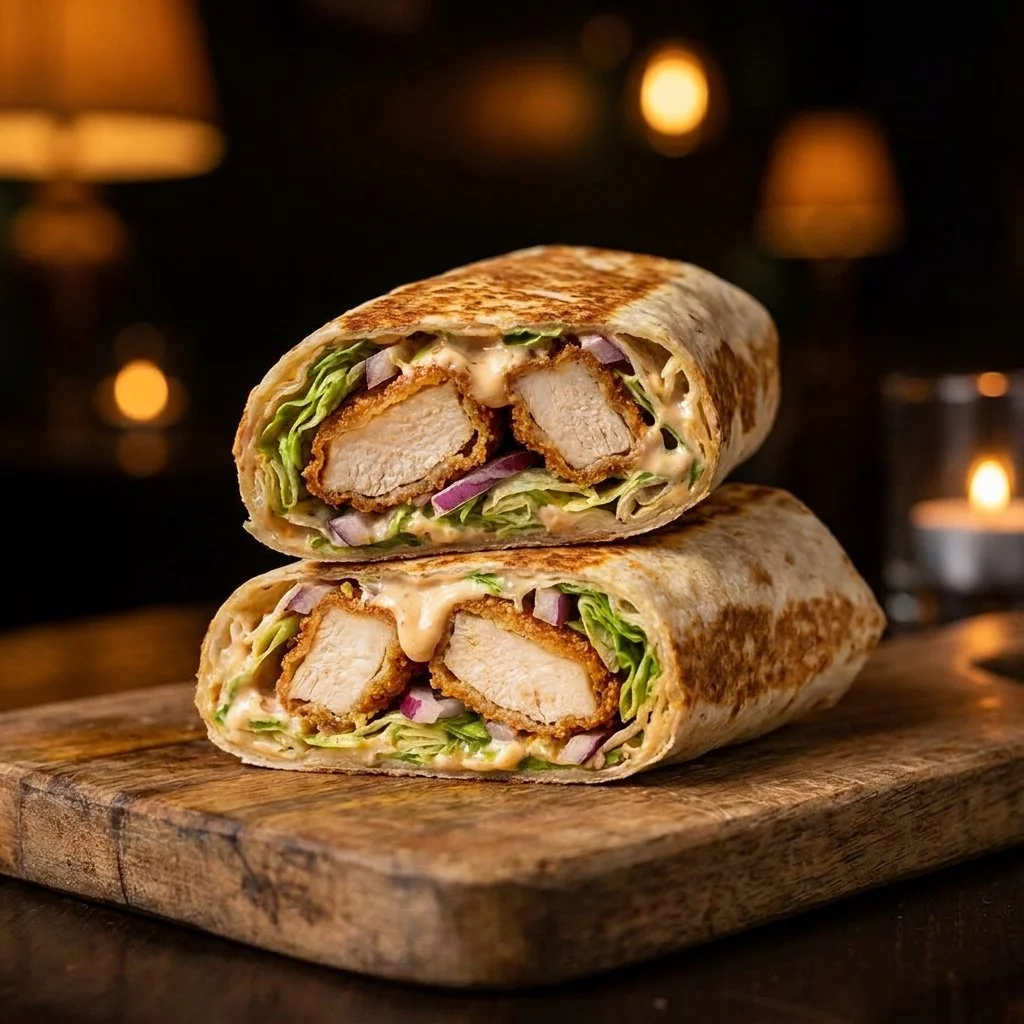
Lay out your tortillas on a clean surface. Spread a generous spoonful of the creamy dressing on each tortilla. Layer the chopped romaine lettuce, sliced crispy chicken, optional add-ins like cherry tomatoes or avocado slices, and then drizzle more dressing over everything.
Fold the sides of the tortillas tightly, rolling them up to seal in all that deliciousness. You can serve them immediately or wrap them tightly if saving for later. If preparing ahead, keep the dressing separate to avoid sogginess.
Serving Crispy Chicken Caesar Wrap With Family Warmth
As the dinner hour approaches, the excitement builds around the table. I love serving these wraps in a casual manner, allowing everyone to grab their own and assemble them to their liking. It’s a chance for everyone to add their special touches, layering in toppings they adore.
Serve the Crispy Chicken Caesar Wrap with a side of sweet potato fries or a light salad to brighten the meal. The sight of everyone digging in, sharing stories and laughter, warms my heart. We enjoy more than just food; we celebrate connection and the joy of being together.
Storing Crispy Chicken Caesar Wrap for Tomorrow
If you happen to have any leftovers (which is rare in our household), storing your wraps is a breeze. They can be kept in an airtight container in the fridge for up to two days. The flavors will deepen and marry together, enhancing the overall taste.
When it’s time to reheat, simply unroll the wraps, place the chicken back in a skillet over medium heat for a few minutes, and you’ll have a lovely warm meal ready to enjoy without much fuss.
Little Kitchen Notes
Every chef has their favorite tips up their sleeve, and I certainly have a few to share for this Crispy Chicken Caesar Wrap:
- For a quicker meal, consider using pre-cooked chicken or rotisserie chicken. Shredded rotisserie chicken can save time while still providing great flavor.
- If you’re out of panko, regular breadcrumbs can work, but you may miss that additional crunch.
- Adding a sprinkle of fresh herbs like parsley or chives can beautifully enhance the presentation and flavor profile.
Family Variations on Crispy Chicken Caesar Wrap
One of the most beautiful aspects of cooking is how it invites creativity. My family has taken this recipe and added personal touches to make it our own. Sometimes, we swap out the chicken for grilled shrimp or add a layer of roasted vegetables for a seasonal twist.
In the summer, fresh corn and diced red bell peppers bring a delightful pop of color and sweetness. The beauty of the Crispy Chicken Caesar Wrap is that it can adapt to the ingredients you have on hand, always feeling like home regardless of the variations.
FAQs About Crispy Chicken Caesar Wrap
Can I bake this a day ahead?
Yes, and honestly, it tastes even better the next day when the flavors settle together. Just store the components separately until you’re ready to enjoy.
What if I don’t have anchovies?
While anchovies add a beautiful umami depth to the dressing, they can be omitted if desired. Just increase the garlic a bit for added flavor.
Can I freeze the wraps?
Yes, the wraps can be frozen before assembly. However, it’s best to avoid freezing the dressing to keep the textures pleasant when you thaw them.
Conclusion
The Crispy Chicken Caesar Wrap is more than just a recipe; it’s a way to bring family together, share love, and create memories around the table. For further inspiration, consider checking out this Chicken Caesar Wrap Recipe or these delightful Crunchy Chicken Caesar Wraps. I hope this wrap brings your kitchen the same quiet joy it brings mine.

Crispy Chicken Caesar Wrap
Ingredients
For the Chicken
- 2 medium boneless, skinless chicken breasts (about 12 oz / 340g) Pounded to an even thickness for even cooking.
- ½ cup all-purpose flour (60g) Seasoned with salt and pepper.
- 2 large eggs Beaten.
- 1 cup panko breadcrumbs (100g) For crispy texture.
- 2 tablespoons extra virgin olive oil (30ml) For frying.
For the Wrap
- 1 head romaine lettuce, chopped (about 150g) Fresh.
- 4 large flour tortillas (10-inch / 25cm)
- ½ cup freshly grated Parmesan cheese (50g)
- 2 cloves garlic, minced (about 1 teaspoon)
- 2 anchovy fillets, finely chopped (optional but recommended)
- 2 tablespoons fresh lemon juice (30ml)
- 1 teaspoon Dijon mustard
- 1 teaspoon Worcestershire sauce
- ⅓ cup mayonnaise (80ml), preferably full-fat
- Optional add-ins halved cherry tomatoes, avocado slices, crispy bacon bits For personalization.
Instructions
Preparation
- Trim any fat from the chicken breasts and pound them to an even thickness if needed.
- Pat the chicken dry with paper towels.
- Set up three bowls: one for seasoned flour, one for beaten eggs, and one for panko breadcrumbs.
Cooking
- Dip each chicken breast into the seasoned flour, then into the eggs, and finally into the panko breadcrumbs.
- Heat about 3 tablespoons of olive oil in a large skillet over medium heat.
- Fry the chicken breasts for 5-6 minutes per side until golden brown and cooked through.
- Drain on paper towels and let rest for 5 minutes before slicing into strips.
Assembly
- Whisk together garlic, anchovies, lemon juice, Dijon mustard, Worcestershire sauce, and mayonnaise until smooth.
- Drizzle in olive oil while whisking to emulsify the dressing.
- Stir in grated Parmesan cheese and season to taste.
- Spread dressing on each tortilla, layer with lettuce, chicken, and optional add-ins.
- Fold and roll the tortillas tightly to seal.