
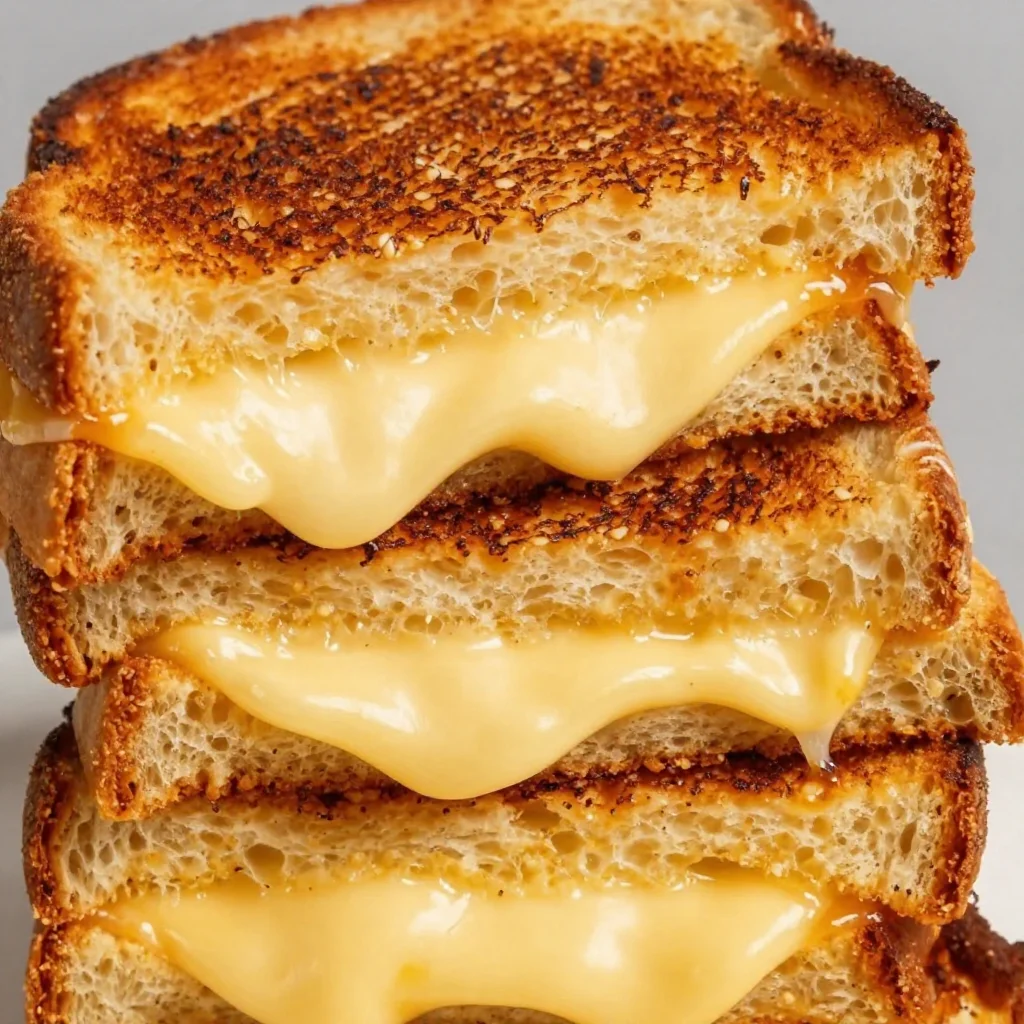
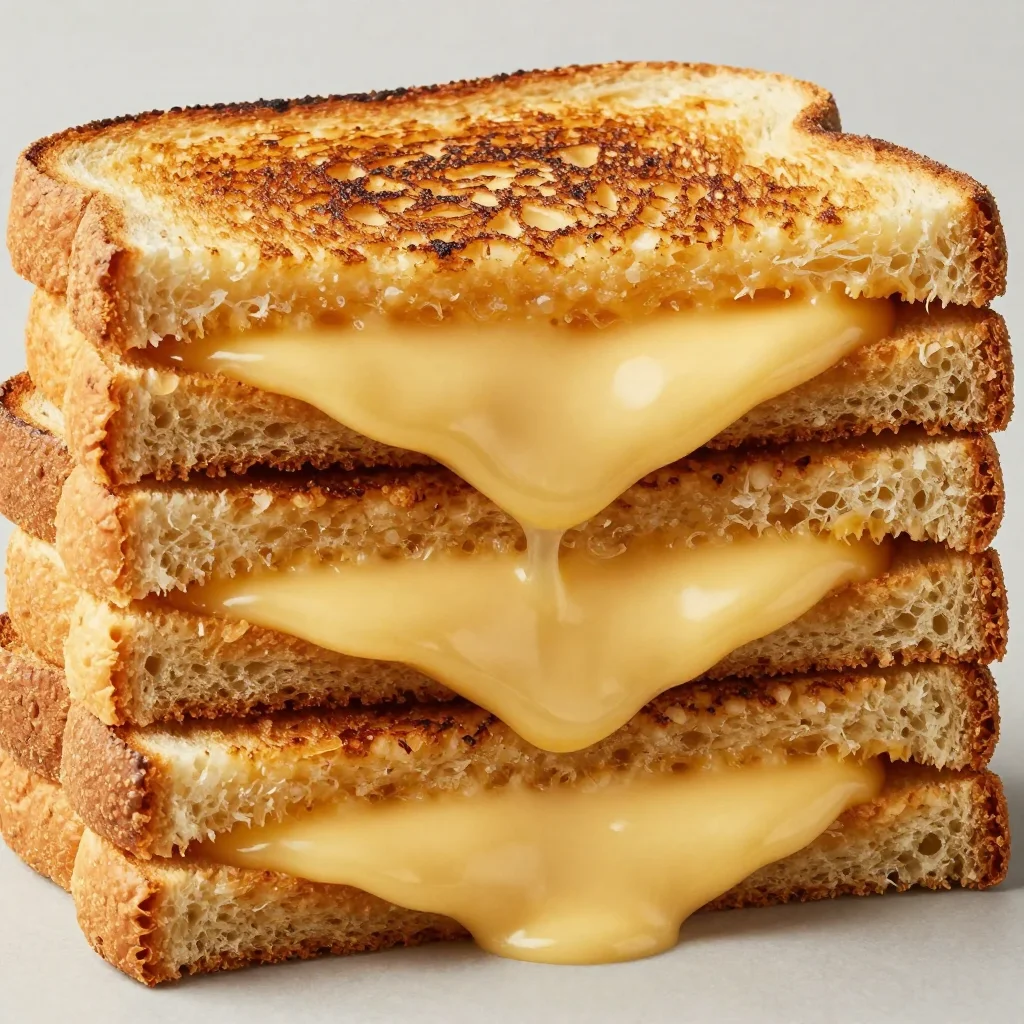
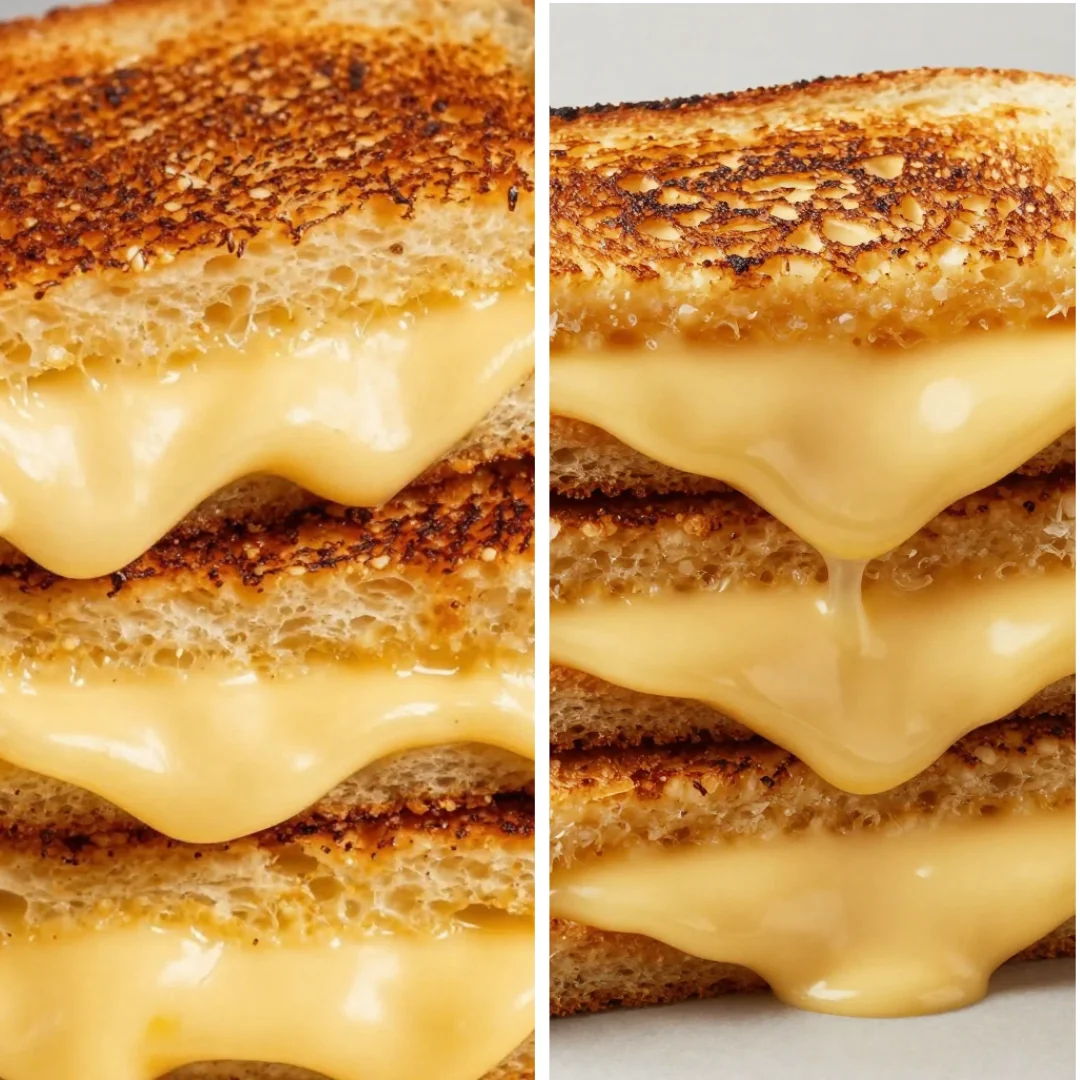
My kitchen is filled with the comforting aroma of sizzling bread, a smell that instantly draws my family into the dining area. The kids are eagerly waiting, their eyes lighting up when they see me flipping over a golden-brown slice of bread, revealing melted cheese oozing out like a friendly greeting. That’s the magic of My best Grilled Cheese Sandwich. It’s not just a meal; it’s an experience that brings everyone together at the table.
Why You’ll Love This My Best Grilled Cheese Sandwich
There’s something about grilled cheese that feels like home. It’s a quick, no-fuss meal that doesn’t require a culinary degree but still tastes like a treat. This recipe deserves a solid spot in every weeknight rotation, and for good reasons. First off, it’s a time-saver. With a prep time of just five minutes and a cook time of about six, you’ll have a delicious meal on the table before the kids start to ask, “What’s for dinner?”
The beauty of this grilled cheese is its simplicity. You won’t be washing a mountain of dishes afterward, which is a win in my book. Plus, it’s family-friendly. You can make it together, allowing the kids to get involved in the kitchen, and they’ll love how easy it is. Not to mention, it’s adaptable. Want to add some extra veggies or switch up the cheese? Go for it! This is a meal that accommodates your pantry and your family’s preferences perfectly.
Preparing My Best Grilled Cheese Sandwich Without the Fuss
“If it smells this good halfway through, you know dinner’s gonna be great.”
Now, let’s dive into how to make My best Grilled Cheese Sandwich the easy way. You’ll start by gathering your ingredients and getting your skillet ready. The process is straightforward. You’ll be toasting bread until it’s golden, layering gooey cheese, and flipping until you achieve that picture-perfect melt. The smell of the toasting bread and melting cheese is a foolproof sign that you’re on the right track.
Ingredients You’ll Need
To make My best Grilled Cheese Sandwich, you’ll need just a few simple ingredients:
- 2 slices sourdough bread (sliced 1.3–1.5 cm thick)
- 30g/2 tbsp SALTED butter (for spreading on bread)
- 1/3 cup (heaped) vintage cheddar cheese (freshly grated or other melting cheese of choice)
- 30g/1/3 cup mozzarella (freshly grated)
Pro tip: Don’t skip the freshly grated cheese; it melts better than pre-shredded. Also, if you’re running low on an ingredient, feel free to improvise. No fancy stuff is required—just the love that you put into your cooking.
Step-by-Step Directions
Butter both sides of each slice of sourdough bread evenly with the salted butter. Make sure to cover every inch to ensure that perfect golden brown crust.
Heat a heavy-based skillet or frying pan over medium-low heat. It’s important not to rush this step; a lower temperature will give you a more evenly toasted finish.
Lightly toast both slices of bread in the pan for about 1 minute. You’re just giving it a head start here.
Flip one slice of bread over and pile on the cheddar cheese. Don’t be shy; treat yourself to a good layer!
Follow that up with the mozzarella. The combination of these two cheeses is what dreams are made of.
Place the other slice of bread on top of the cheese.
Cook for about 3 minutes, gently pressing down with a spatula occasionally. Look for that golden color to come through.
Once the bottom side is golden and crisp, flip the sandwich. Cook the other side for about 3 minutes or until golden brown and the cheese is melty.
Transfer your perfect grilled cheese to a cutting board. Cut it in half and admire the glorious cheese pull before diving in!
Quick tip: Keep your spatula handy for flipping; a little browning here adds tons of flavor, so don’t panic if you slightly overshoot.
How We Enjoy My Best Grilled Cheese Sandwich at Home
Serving My best Grilled Cheese Sandwich is often a family affair. We typically make it a cozy meal by pairing it with tomato soup—classic comfort food that really rounds out the dish. You could also serve it alongside a light salad for a crunch that complements the melty cheese.
I like to set it up family-style, making a platter where everyone can grab their own sandwich and dunk it into a bowl of steaming soup. If you’re feeling adventurous, try adding some spicy mustard or aioli on the side for dipping. This meal is all about sharing and enjoying, so don’t hold back!
Storage & Reheat (No Soggy Leftovers)
Let’s talk leftovers. If you find yourself with some sandwiches that didn’t get finished, no problem! You can store them in an airtight container in the fridge for about 1 to 2 days.
When reheating, I recommend using your oven for the best results. Preheat to 350°F (175°C) and place the sandwich on a baking sheet. Bake for about 10 minutes until it’s hot and crispy. Sure, the microwave works in a pinch, but you’ll sacrifice that delicious crunch.
If you want to prepare sandwiches ahead of time, consider making a batch on your weekend. You can even try out a variation like this bacon and caramelized onion grilled cheese for something a little gourmet on a busy weeknight!
Quick Tips & Shortcuts
Before you head to the kitchen, check out these quick tips that might help:
Use a mix of cheeses. Blending sharp cheddar and creamy mozzarella creates a great flavor and texture.
Keep some garlic powder on hand. A sprinkle on the buttered bread adds an unexpected but delightful depth of flavor.
If you’re prepping for a bigger crowd, consider making grilled cheese burritos. They’re a fun twist that can be filled with countless combinations! Check out my recipe for grilled cheese burritos.
For a quicker clean-up, use parchment paper between the sandwich and the skillet.
Don’t be afraid to get creative with add-ins. Spinach, tomatoes, or even some spicy jalapeños can take your sandwich to the next level!
Variations That Work
Now, if you’re in the mood to jazz this up, I’ve got some fun variations up my sleeve.
- Veggie-packed: Add some sautéed mushrooms, spinach, or grilled tomatoes for a nutritional boost.
- Spice it up: Don’t shy away from adding a slice of pepper jack cheese or some pickled jalapeños.
- Make it meaty: Throw in some leftover roasted chicken or deli meats for a hearty version.
- Sweet and savory: Try apple slices or pear slices with brie or gouda for a unique twist.
- Gluten-free version: Just switch out regular bread for gluten-free alternatives.
FAQs About My Best Grilled Cheese Sandwich
Can I make this ahead?
Absolutely! Make your sandwiches, wrap them tightly in foil, and store them in the fridge. When you’re ready to eat, just follow the reheating instructions above.
What’s the best bread to use?
Sourdough is my go-to, but you can experiment with any sturdy bread. Just make sure it’s thick enough to hold the filling without falling apart.
Can I freeze grilled cheese?
Yes, you can freeze them! Wrap them tightly in foil or plastic wrap, and keep them in the freezer for up to a month. Just reheat in the oven when ready.
How do I know when my sandwich is ready?
Watch for that golden brown color. A manual squeeze will also help; if it’s crispy and feels a bit soft from the melted cheese, you know it’s done.
What toppings can I add?
You can add a variety of toppings, whether it’s some homemade pesto, spicy ketchup, or even a drizzle of balsamic glaze. Get creative!
Conclusion
And there you have it! My best Grilled Cheese Sandwich is more than just a simple meal; it’s a family tradition just waiting to happen at your table. From the quick prep to the satisfying cheese pull, this dish offers a bit of comfort that everyone can appreciate.
If you are ready to explore even more grilled cheese goodness, check out the recipes for a delicious grilled cheese sandwich or dive into a tasty grilled cheese sandwich with video for some visual inspiration. Trust me, your family will thank you for bringing this deliciousness into your kitchen!

Grilled Cheese Sandwich
Ingredients
Bread and Butter Ingredients
- 2 slices sourdough bread (sliced 1.3–1.5 cm thick)
- 30 g butter (for spreading on bread) Use salted butter for best flavor.
Cheese Ingredients
- 1/3 cup vintage cheddar cheese (freshly grated or other melting cheese of choice) Don’t skip the freshly grated cheese; it melts better.
- 30 g mozzarella (freshly grated)
Instructions
Preparation
- Butter both sides of each slice of sourdough bread evenly with the salted butter.
- Heat a heavy-based skillet or frying pan over medium-low heat.
- Lightly toast both slices of bread in the pan for about 1 minute.
Building the Sandwich
- Flip one slice of bread over and pile on the cheddar cheese.
- Follow that up with the mozzarella.
- Place the other slice of bread on top of the cheese.
Cooking
- Cook for about 3 minutes, gently pressing down with a spatula occasionally.
- Once the bottom side is golden and crisp, flip the sandwich and cook the other side for about 3 minutes or until golden brown and the cheese is melty.
Serving
- Transfer the grilled cheese to a cutting board. Cut it in half and enjoy the cheese pull!