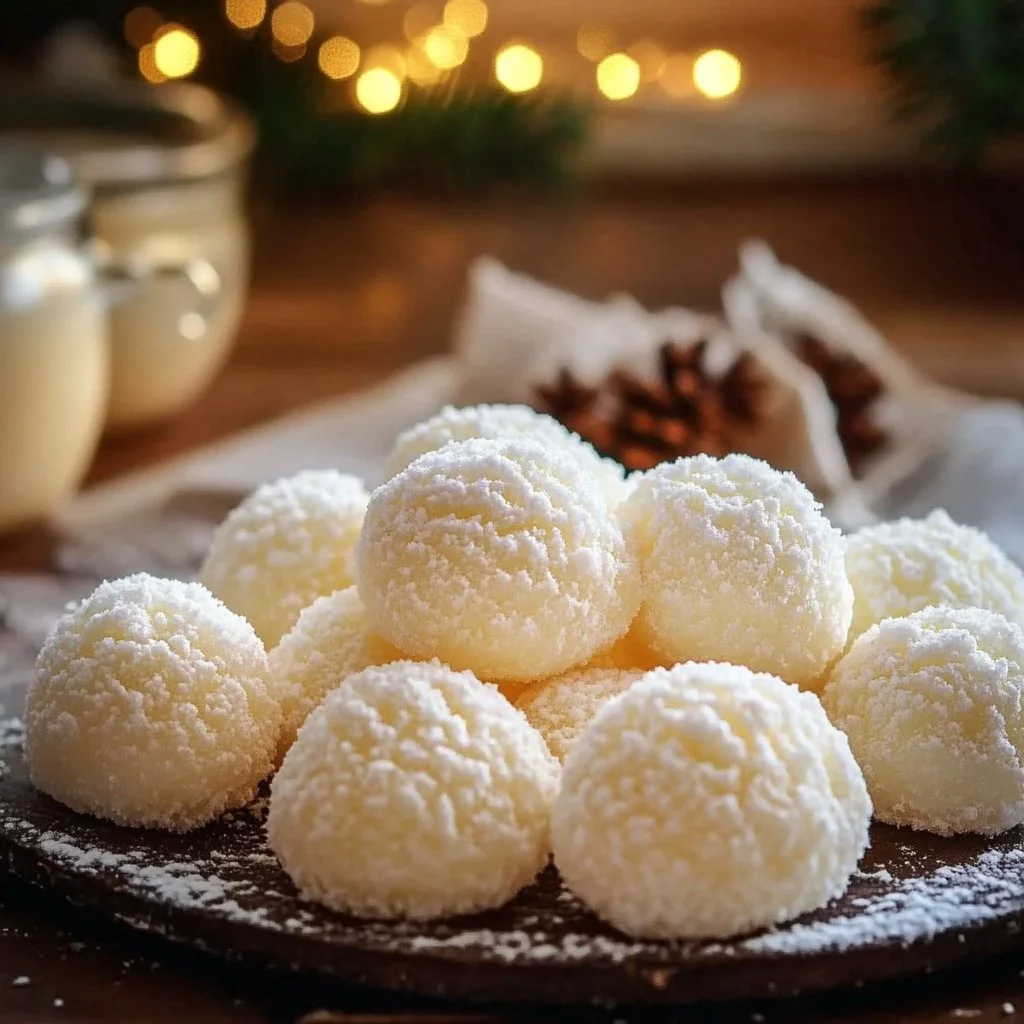
Start the evening with a familiar sound: kids calling from the living room and someone asking, “Is dinner ready?” The kettle hums, a pan sits on the counter, and on the table there is a plate of Sweetened Condensed Milk Snowballs waiting for the family to nibble while the rest of the meal finishes. It feels like small comfort and a tiny victory on a busy night. If you want an easy dessert or snack that comes together fast and makes people smile, these snowballs do the trick, and they sit nicely alongside other simple recipes I lean on when time’s tight, like my go-to fried green tomato shortcut that saves cleanup and still tastes like Sunday.
Why Sweetened Condensed Milk Snowballs Deserves a Spot in Your Weeknight Rotation
These snowballs are the kind of recipe you make when you want something sweet without turning the house into a bakery. They need no oven, very little equipment, and they come together in one bowl. That matters when you are juggling work, kids, and whatever else life throws at dinner time.
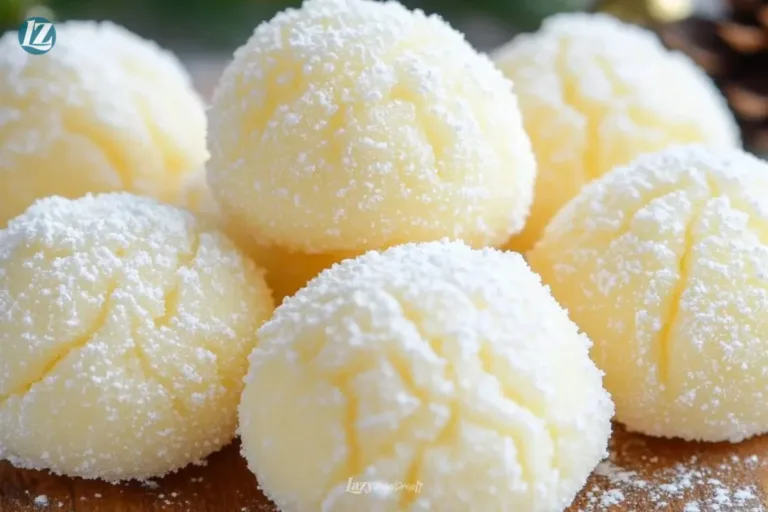
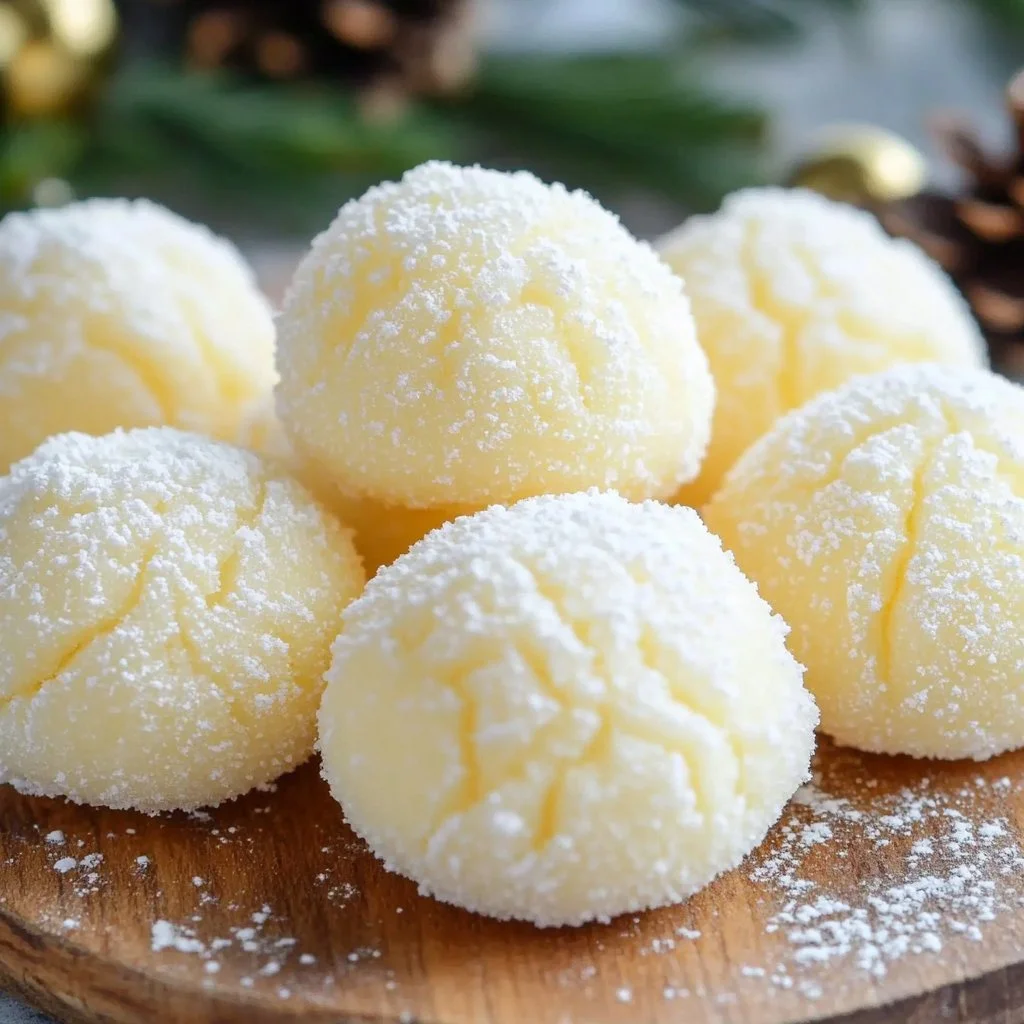
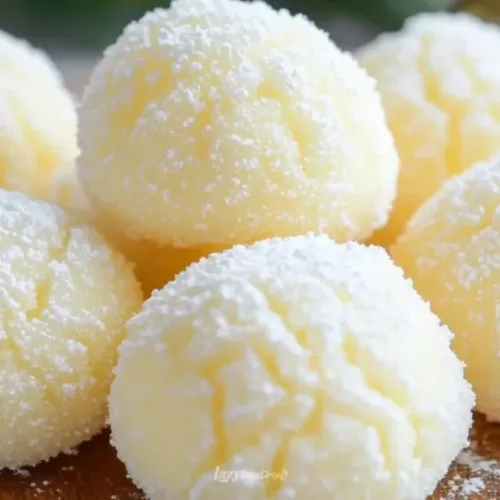
They are family-friendly in texture and flavor. Think soft, chewy centers with a little powdered sugar dusting on the outside and optional chocolate for a richer bite. The aroma while you mix is sweet and coconutty, which somehow tricks the house into thinking you pulled off something complicated. Meanwhile, the prep takes minutes, which frees you to do the other evening things that need doing.
This recipe is forgiving. If you want less sweetness, add more coconut and a bit less powdered sugar. If you want a nutty note, fold in almond flour. If you need an allergy swap, I’ll walk through substitutions later. Bottom line: these snowballs save time, reduce dishes, and make people happy without the stress.
How to Make Sweetened Condensed Milk Snowballs the Easy Way
“If it smells this good halfway through, you know dinner’s gonna be great.”
Start with a clear plan: mix, rest, shape, chill, and optionally coat. The mixture will be sticky, glossy, and a pale cream color when it’s right. The coconut gives texture and a clean, bright flavor that pairs perfectly with the canned sweetened condensed milk. Letting the mixture sit for 15 minutes helps the coconut hydrate and makes it much easier to shape the balls.
Look for these cues while you work. The mix should hold together when you press it into a ball in your palm. If it crumbles, you need just a touch more condensed milk. If it’s sliding off your hands, dust them with powdered sugar or chill the bowl for ten minutes. The smell should be sweet and coconut-forward, with a hint of vanilla if you added it.
Once you understand the feel and look of the mixture, the rest is straightforward. You’ll shape the balls and then chill them to firm up. Chocolate coating is optional but worth it if you want a contrast in texture and a little extra indulgence.
Ingredients You’ll Need
1 cup sweetened condensed milk
2 cups shredded coconut
1/2 cup powdered sugar
1 teaspoon vanilla extract
1/4 cup almond flour (optional)
1/4 cup chocolate chips (optional, for coating)
Additional powdered sugar for rolling
A few friendly notes: you don’t need fancy coconut. Regular shredded coconut works fine; sweetened or unsweetened will change the overall sweetness a bit so I usually use unsweetened and trust the condensed milk. Don’t skip the powdered sugar for rolling unless you like a stickier finish. If you are short on powdered sugar, a quick pulse of granulated sugar in a blender will work in a pinch.
If you want to compare how these sit next to other easy snacks, I sometimes pull one of my no-fuss sides from the pantry and toss it into rotation; it’s a quick swap that keeps weeknights moving without stress, similar to how I pair smarter sides with fried green tomatoes in my pantry-friendly recipes like the recipe that saves time and dishes.
Step-by-Step Directions
- In a mixing bowl, combine sweetened condensed milk, shredded coconut, powdered sugar, vanilla extract, and almond flour (if using).
Use a sturdy spoon or silicone spatula to fold ingredients. Mix until the coconut is fully coated and the sugar disappears into the milk.
A little sticky is normal. Don’t overmix or you’ll warm the milk with your hands. - Mix until well combined and let sit for about 15 minutes.
Letting the mix rest hydrates the coconut and helps it bind. The mixture will thicken slightly and get easier to shape.
Meanwhile, line a baking sheet with parchment or set out a plate for the finished balls. - Using your hands, form the mixture into small balls, about 1 inch in diameter.
If the mixture sticks, dust your palms with powdered sugar or chill the mixture for 5 to 10 minutes. Firm pressure gives neat round snowballs.
Work quickly so the mix doesn’t warm up from your hands. - If desired, melt chocolate chips in a microwave-safe bowl and dip each snowball into the melted chocolate, then roll in additional powdered sugar.
Microwave chocolate in 20-second bursts, stirring between each, until smooth. Use a fork to dip, tap off excess, and roll in sugar for a snowy look.
Chocolate adds a nice textural contrast and keeps the outside from sticking when stored. - Place the snowballs on a baking sheet lined with parchment paper and refrigerate until firm, about 30 minutes.
The fridge firms the centers and helps the chocolate set if you used it. You will notice the outside go from shiny to a matte finish when ready.
If in a hurry, pop them in the freezer for 10 to 15 minutes until firm. - Serve cold or at room temperature.
Cold keeps them firmer and easier to handle for kids. At room temperature they get softer and a bit more tender on the bite.
Arrange on a platter or pack into airtight boxes for treats on the go.
Quick encouragement: you’ve got this. The steps are straightforward and forgiving. Keep your hands dusted with powdered sugar and remember a little time in the fridge helps everything set up without fuss.
Serving Sweetened Condensed Milk Snowballs at the Table
I like to serve a small stack of these on a dessert plate while the main meal rests. They make a quiet, sweet punctuation after dinner without the need for a big production. Family-style works well: set a platter in the middle of the table and let people take one or two. Kids love the snowball look and adults appreciate the no-oven convenience.
For a casual evening, stash a few in meal-prep containers and set them out for after-school snacks or lunchbox treats. They travel well in a cool bag and are easy to portion. On game nights, place them next to popcorn or salted nuts for a balance of sweet and savory.
If you want to get a little fancier, serve them with a small bowl of espresso or a drizzle of warmed caramel. A few fresh berries on the side add color and a little acidity to cut through the sweetness. For evenings when you want minimal cleanup, line a plate with parchment and let people help themselves. No forks, no plates to wash, just good bites and easy conversation.
Storage & Reheat (No Soggy Leftovers)
Store leftover snowballs in an airtight container in the refrigerator. They will keep well for up to 5 days. The chilled texture is nice, and the flavor settles over time, so they often taste even better on day two or three.
For longer storage, freeze the snowballs on a baking sheet until firm, then transfer them to a freezer-safe bag or container. They will keep in the freezer for up to 2 months. When you want one, let it thaw in the fridge for an hour or on the counter for 15 to 30 minutes. Don’t microwave directly from frozen; it will get messy and the texture can turn pasty.
Reheating is usually not necessary. If you want a softer, just-made feel, let them sit at room temperature for 10 to 20 minutes. If you melted chocolate on them and want to refresh the shine, briefly place the tray in a warm oven for a minute or two, watching carefully so nothing melts too much.
Honest tip: powdered sugar will absorb moisture over time, so the powdered finish can fade if stored uncovered. Keep them sealed, and if the finish looks dull, a quick dusting of sugar just before serving fixes the look.
Ethan’s Notes From the Kitchen
- Use a medium-grain shredded coconut for the best texture. I prefer unsweetened shredded coconut so the snowballs are not too sweet.
- Almond flour gives a pleasant, subtle nutty note and helps dry the mix slightly. Skip it if you have allergies or if you want a purer coconut flavor.
- Chocolate coating adds richness and helps create a non-sticky shell. I usually do half the batch in chocolate and leave the rest plain so the family gets options.
I learned early that resting the mixture is a small step that pays off. At first I tried to roll the mixture straight away and got sticky hands and lopsided balls. Waiting those 15 minutes made shaping effortless. Another thing: if you are doing these with kids, pre-measure ingredients and let little hands press the mixture into cups or molds. They love that, and cleanup is limited.
For a quick variation, toss in a tablespoon of lemon zest for a bright lift. It adds a fresh snap without changing the whole recipe. If you are watching sugar intake, consider reducing the powdered sugar and rolling the balls in a thin layer of cocoa powder or finely chopped nuts instead.
One more kitchen trick: when melting chocolate, add a small spoonful of coconut oil or neutral oil. It keeps the chocolate glossy and easy to work with. Don’t overheat; a few seconds too long, and the chocolate becomes grainy.
Quick Tips & Shortcuts
- Use a cookie scoop to portion identical snowballs fast. Scoop, press gently, and roll. Less fuss, more even treats.
- Swap almond flour with oat flour if you want a nuttier, chewier bite. Oat flour plays nicely and keeps the texture soft.
- Make these in a food processor for an ultra-fine texture. Pulse condensed milk and coconut briefly, then transfer to a bowl. It saves stirring time.
- If you want to skip chocolate, roll the balls in colored sugar or finely chopped toasted coconut for a different look.
- For a no-sugar coating, roll in finely chopped toasted nuts instead of powdered sugar.
I also like to keep a small extra bowl of powdered sugar nearby while I work. One light dusting on your hands slows the stickiness and prevents the mixture from grabbing everything it touches. When I am in a hurry, I double the recipe and freeze half. Then I have ready-made desserts for those nights when I can’t even think about mixing ingredients.
If you want another quick weeknight pairing tip, keep a few jarred sauces or quick veggies in the fridge. Toss a side together while the snowballs chill and you’ve got a full table in under 20 minutes. If you enjoy recipes that simplify cooking without losing flavor, you might appreciate the same pantry-first logic I use in other recipes like my simple fried green tomatoes shortcut that keeps cleanup low and flavor high.
Variations That Work
There are small changes that make these snowballs feel new without any extra effort. Here are some tried-and-true tweaks I reach for.
- Chocolate-Dipped Snowballs: Melt 1/4 cup chocolate chips and dip each ball halfway. Let them set in the fridge. The mix of soft center and crisp chocolate shell is a crowd pleaser.
- Lemon-Coconut Snowballs: Add 1 tablespoon lemon zest and a splash of fresh lemon juice to brighten the mix. Great for spring and summer.
- Nutty Crunch: Roll the finished snowballs in finely chopped toasted almonds or pistachios for texture and a pretty finish.
- Cocoa-Coated: Skip powdered sugar and roll in unsweetened cocoa powder for a deeper flavor with less visible sweetness.
- No-Nut Option: Leave out almond flour and use extra coconut instead. The texture stays pleasant and nut-free.
If you want to experiment further, try folding in a couple of tablespoons of mini dried cranberries or chopped dried apricots. The chew and tartness are nice, but be careful with moisture too much dried fruit can alter binding. My family liked the version with a hint of cinnamon added to the powdered sugar for a seasonal twist.
Every variation is fast because the base stays the same. That’s the beauty of a simple, reliable base recipe: you can riff on flavors without adding steps.
One more link for those who enjoy small, pantry-first wins like this: when nights get crazy, I often pull two or three simple dishes that hit different flavor notes. If you enjoy that approach, check out another no-fuss method I use for quick sides: a weeknight-friendly fried green tomato trick.
FAQs About Sweetened Condensed Milk Snowballs
Can I make this ahead?
Yep. It actually tastes even better the next day when the flavors settle. Keep them covered in the fridge and bring to room temperature before serving if you want them softer.
Can I use sweetened coconut?
You can, but I recommend using unsweetened shredded coconut and letting the condensed milk handle the sweetness. With sweetened coconut the result can be very sugary for some tastes.
Are these freezer-friendly?
Yes. Freeze on a tray first, then bag them. Thaw in the fridge for an hour before serving. They hold shape and flavor well.
What if my mixture is too wet?
Add a tablespoon or two of almond flour or more coconut until it holds. Chill the bowl for 10 minutes and try shaping again.
Can I make them without dairy?
Sweetened condensed coconut milk is an option that mimics the texture and sweetness. The flavor will be more coconut-forward, which many folks enjoy.
A Final Bite
If your family licks the spoon or sneaks one straight from the fridge, don’t say I didn’t warn you. These snowballs are meant to be enjoyed without stress and with a little bit of mess. They’re forgiving, fast, and perfect for nights when you want something sweet but not complicated.
Try making a double batch next time and freeze half for emergencies. You’ll be glad you did when you need a quick treat that looks like you spent more time than you did. And remember: short prep, one bowl, and a fridge later, you’ve got a little win on the table.
Conclusion
If you want another take on this idea, I sometimes refer to the classics and tweak them for modern weeknights, like this version from Sweetened Condensed Milk Snowballs – Lord Byron’s Kitchen, which inspired a few of my tips. For a slightly different texture and presentation, this write-up has useful photos and step notes at Sweetened Condensed Milk Snowballs – That Oven Feelin.
Thanks for letting me share this little, simple recipe. If you try it, tell me how you changed it. You’ve got this.
Sweetened Condensed Milk Snowballs
Ingredients
Main Ingredients
- 1 cup sweetened condensed milk
- 2 cups shredded coconut Use medium-grain and unsweetened if preferred.
- 1/2 cup powdered sugar Plus additional for rolling.
- 1 teaspoon vanilla extract Optional for added flavor.
- 1/4 cup almond flour Optional for a nutty flavor.
- 1/4 cup chocolate chips Optional for coating.
Instructions
Preparation
- In a mixing bowl, combine sweetened condensed milk, shredded coconut, powdered sugar, vanilla extract, and almond flour (if using).
- Use a sturdy spoon or silicone spatula to fold ingredients until the coconut is fully coated and the sugar disappears into the milk.
- Allow the mixture to sit for about 15 minutes to hydrate the coconut.
- Line a baking sheet with parchment paper or set out a plate for the finished snowballs.
Shaping
- Using your hands, form the mixture into small balls, about 1 inch in diameter.
- If the mixture sticks, dust your palms with powdered sugar or chill the mixture for 5 to 10 minutes.
Coating and Chilling
- If desired, melt chocolate chips in a microwave-safe bowl and dip each snowball into the melted chocolate, then roll in additional powdered sugar.
- Place the snowballs on a baking sheet lined with parchment paper and refrigerate until firm, about 30 minutes.
Serving
- Serve cold or at room temperature, either on a platter or packed into airtight containers.